Mechanical Keyboards
I've built a bunch of really cool keyboards
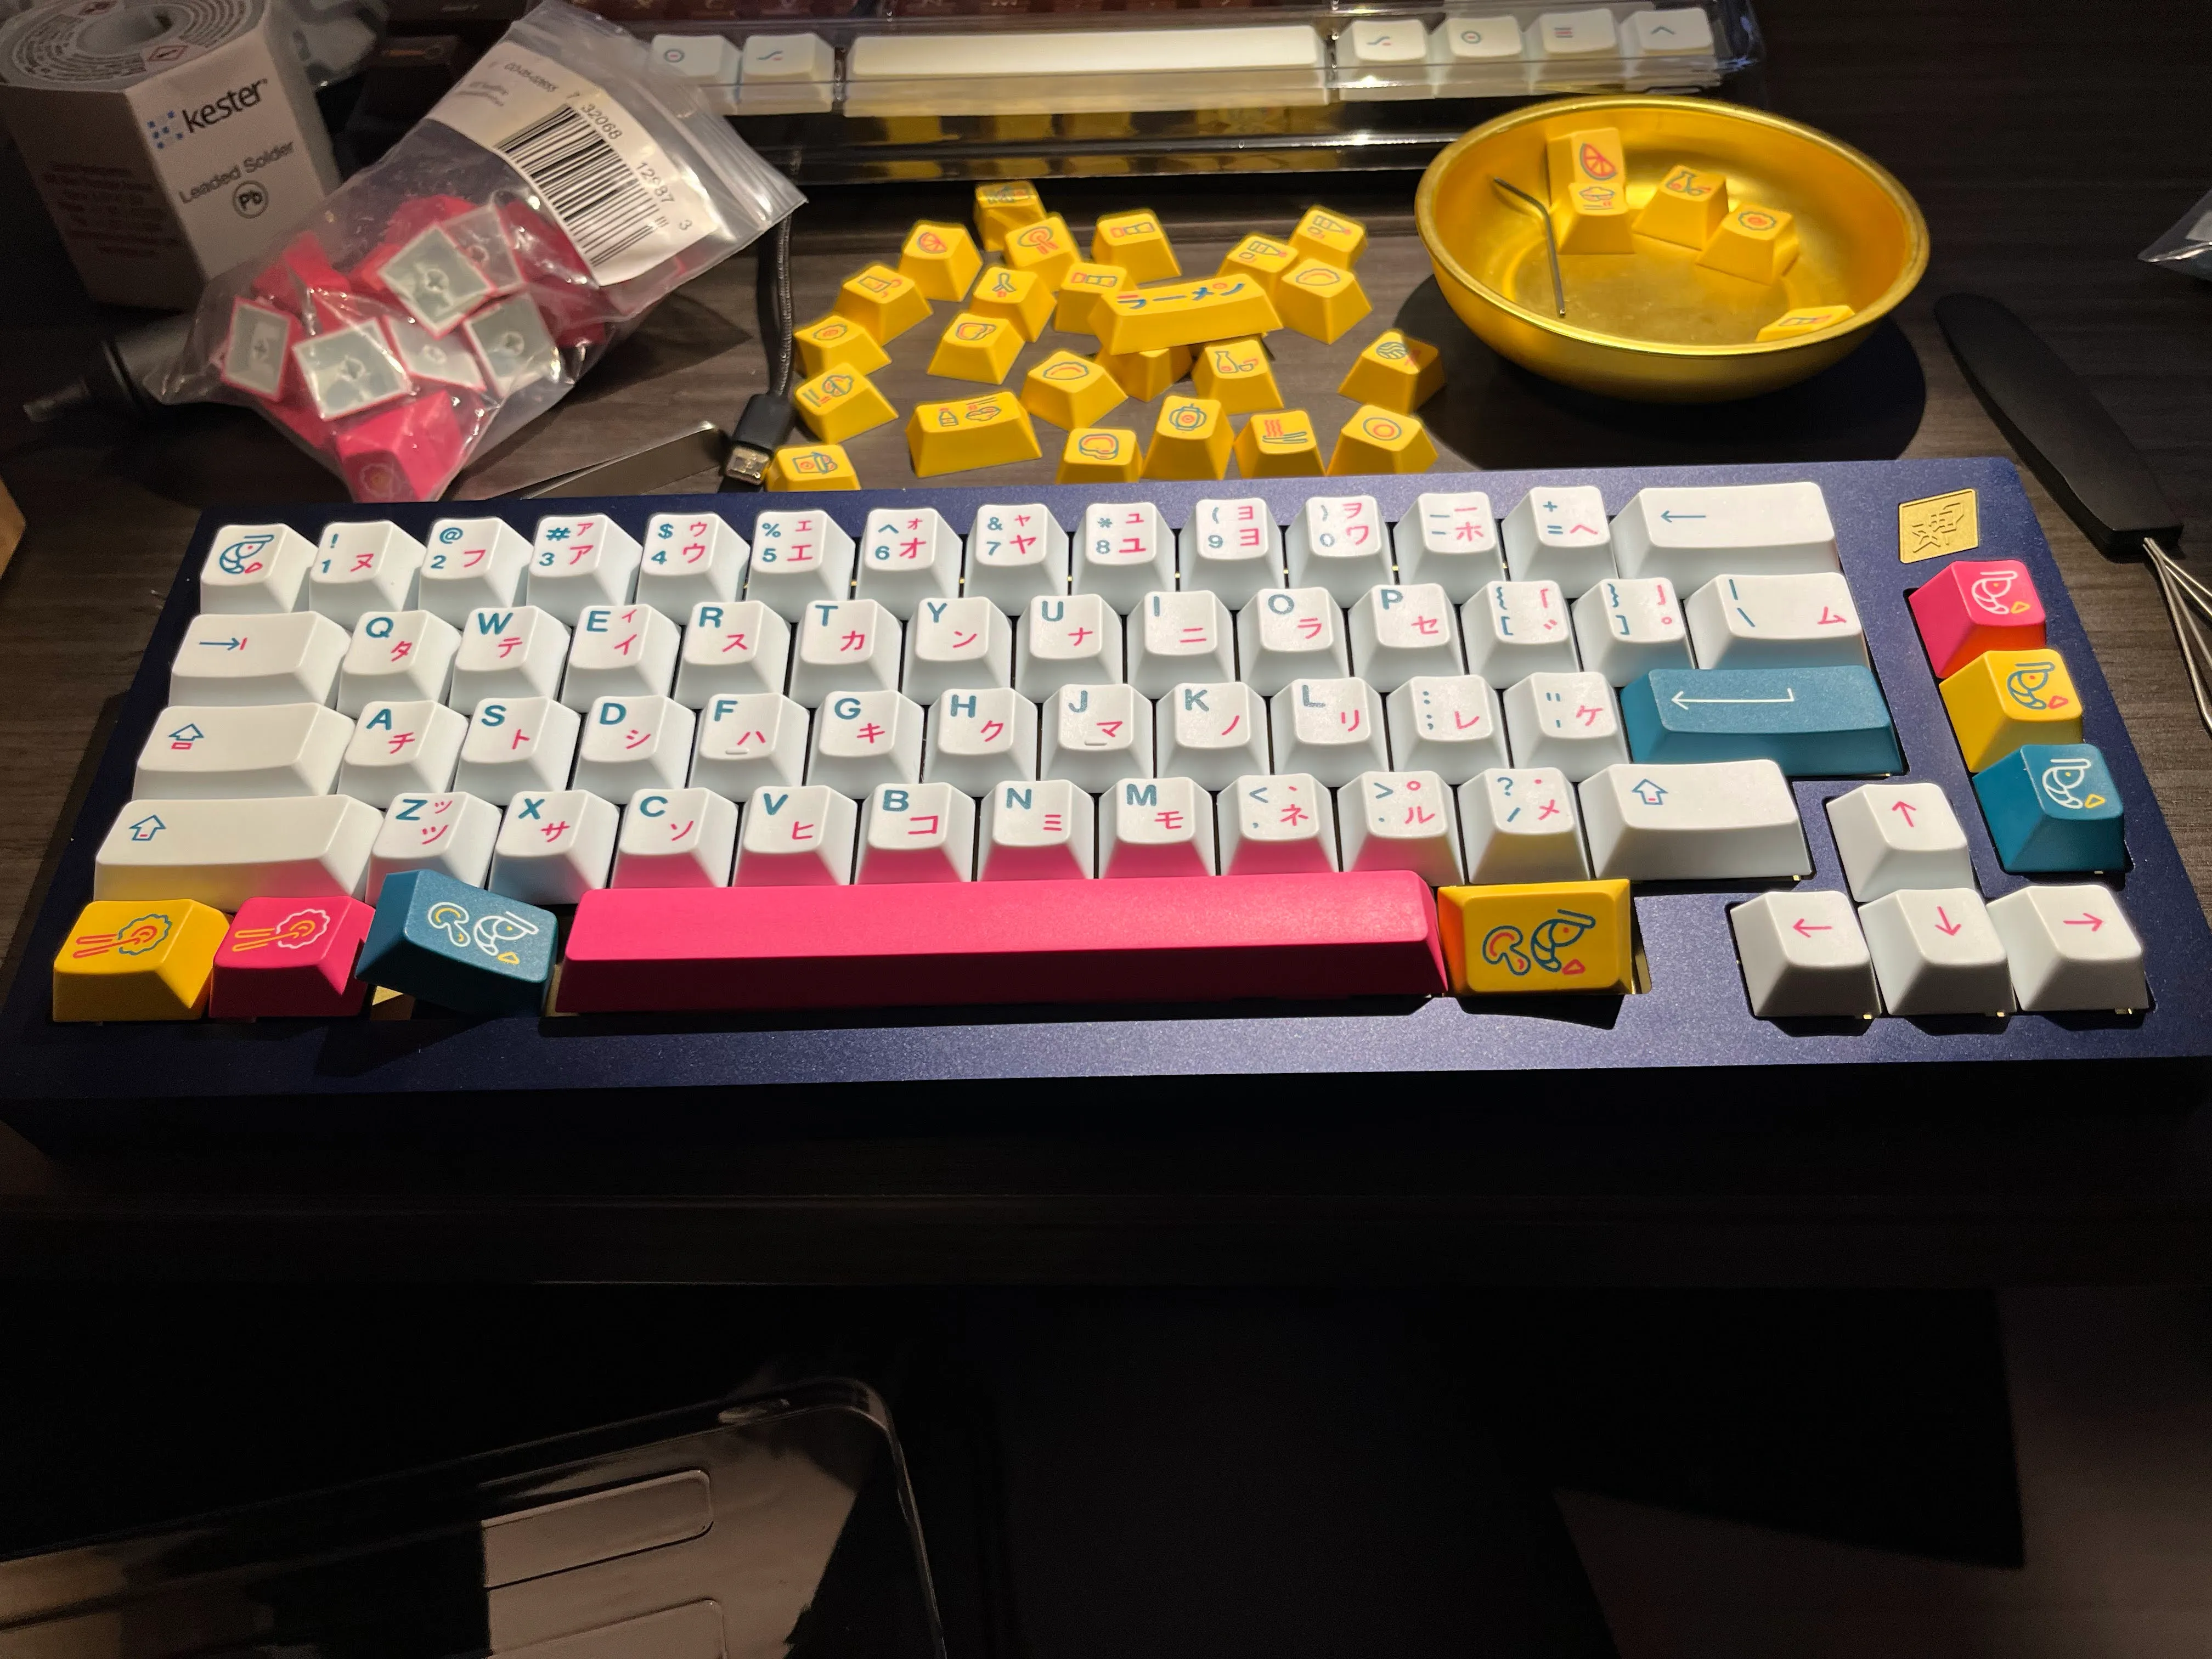 An in-progress photo of my Mercury Keyboard
Mechanical Keyboards were one of my “Covid Hobbies”. I started building keyboards in 2019, but it really took off once we were in lockdown.
Building Boards
For those who are unaware, there is a small but dedicated group of hobbyists who enjoy constructing and modding mechanical keyboards. The appeal is in fine-tuning its many properties:
- Appearance/Aesthetic
- Tactile feel
- Typing sound
It makes sense when you think about keyboards as a “tool”. As a software dev, my keyboards are my tools, so it made sense to me to want to modify them for comfort and fun :3
Skills and Process
“What does building/modding a mechanical keyboard entail?” is a pretty common question I’ve gotten. While it depends on the specific kit you’re working with, there are a few common things you’ll probably end up doing:
- Shopping!
- Assembling the keyboard
- Lubricating switches and stabilisers
- Swapping keycaps
- Soldering switches
Shopping!!!
Easily the most fun part lol. You’ve gotta buy your stuff!! You need to buy a board, keycaps, and switches just to start…but you may need to buy lubricant for your switches, maybe some fancy new cables…a matching deskmat perhaps? Oh and what if you want different switches in case you want to change the sound…ah and maybe those cool keycaps are an odd shape so you should probably buy another set just to make sure they’re comfortable…


Shopping Reccs
Normally I’d link a bunch of cool places to buy things, but in recent years a ton of keyboard shops have closed up–usually without grace.
Generally folks on Reddit are up to date with current storefronts worth checking out. But it’s gotten a bit trickier lately.
Assembling
Depending on what kind of kit you get, you may just be adding keycaps to a keyboard, or you may have to assemble all of: sound dapening materials, the PCB, the frame, the plate, the switches, and finally the keycaps.
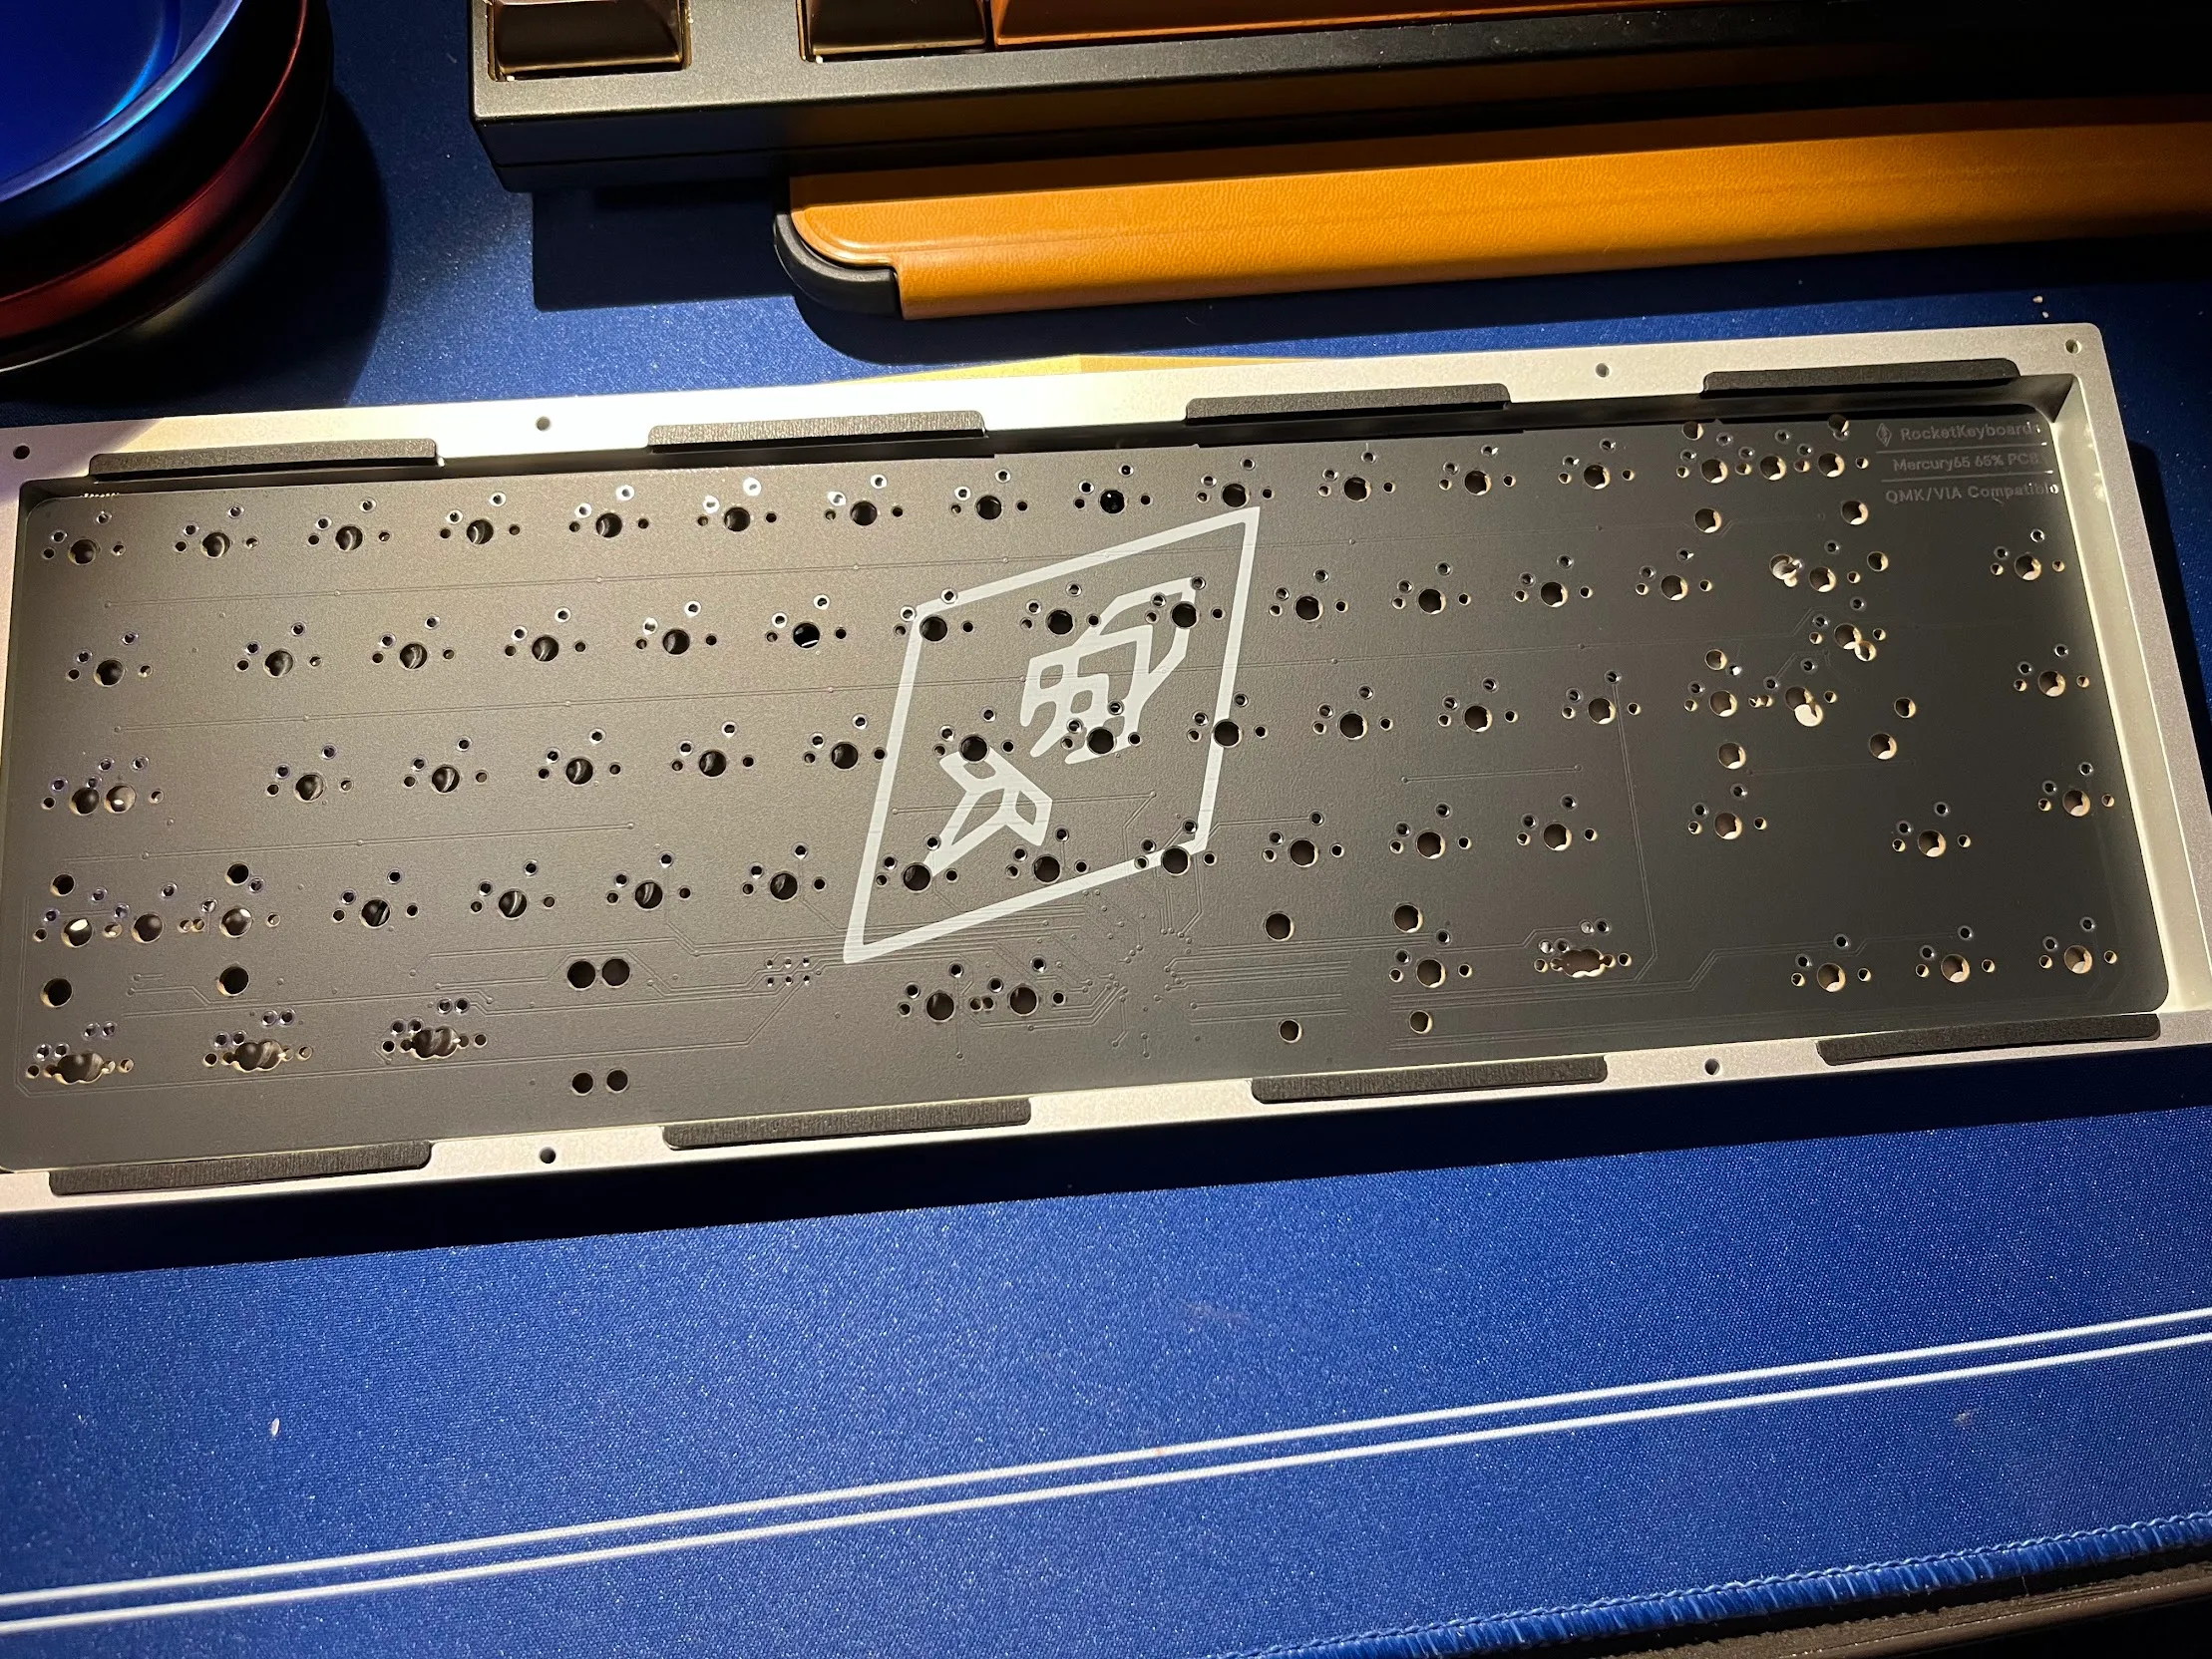 My Mercury65’s PCB laid into its baseplate
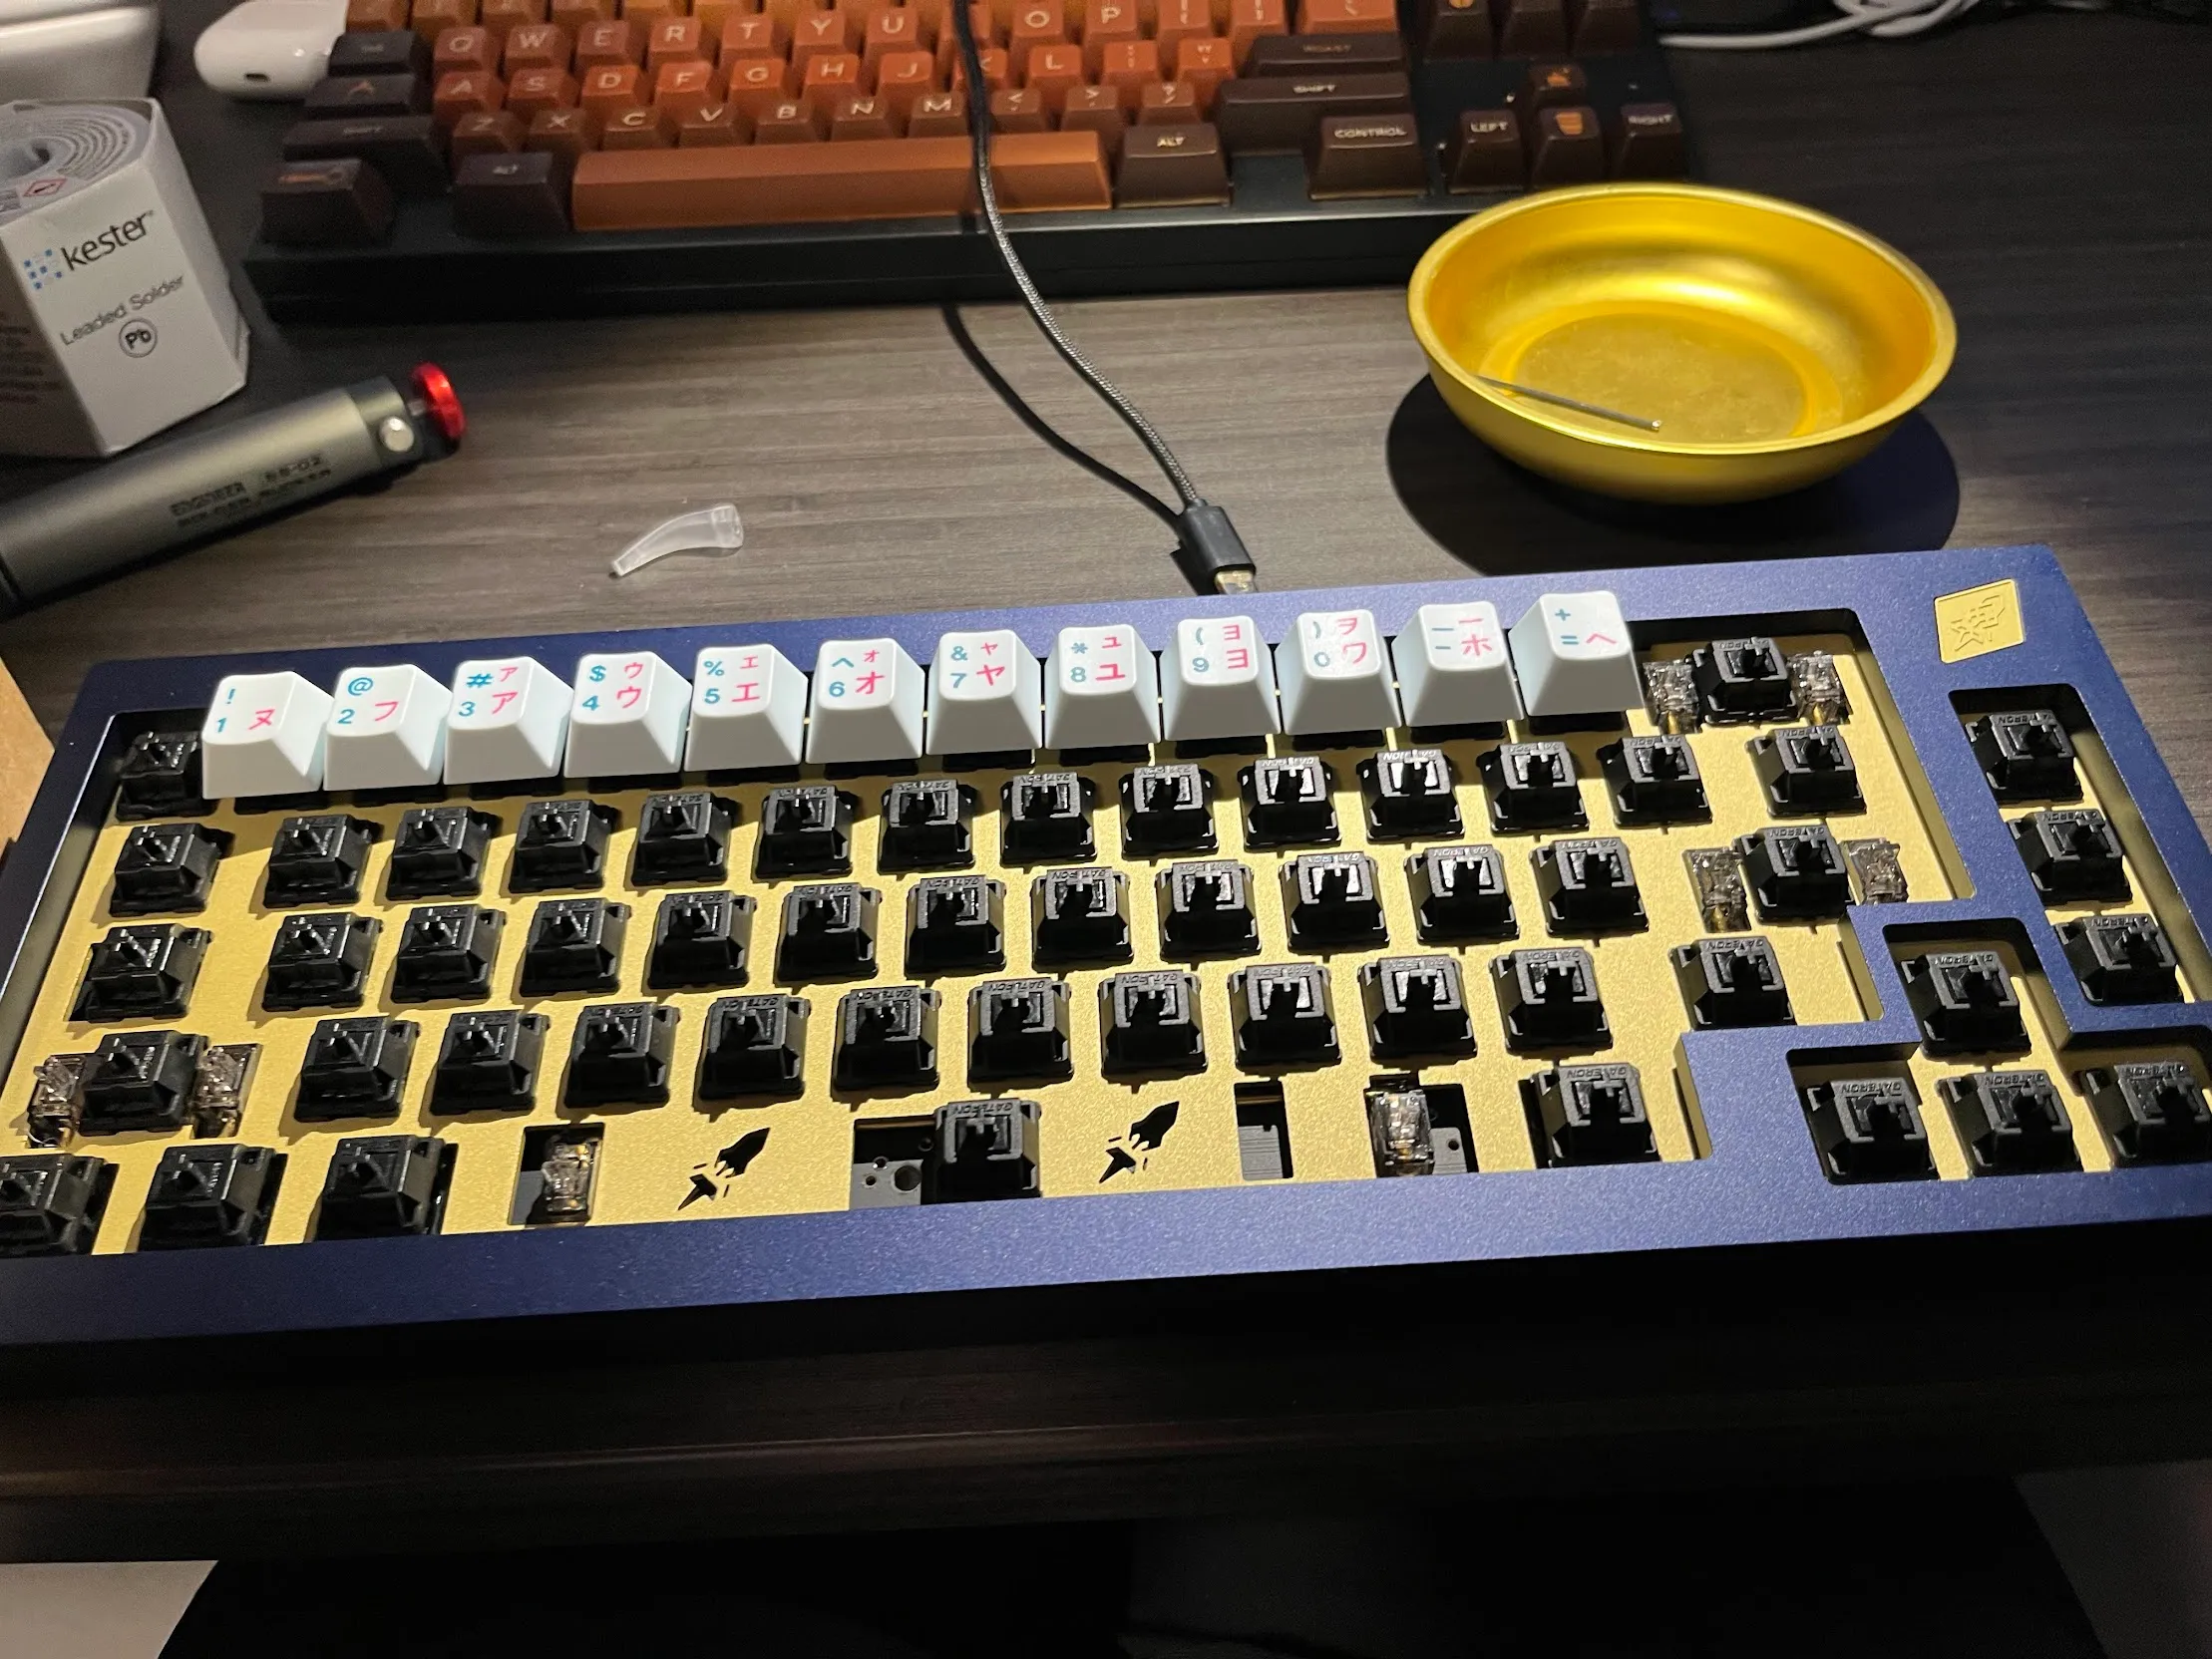 My Mercury65 nearly fully completed. Just missing keycaps
The only thing that can suck about assembling is having to unassemble when you realise you missed one of the other steps. It’s normally a very satisfying and easy stage of the hobby.
Lubricating
The biggest time sink of the hobby is lubing switches…

Key switches are the mechanical inputs on a keyboard, translating a button press into an electrical binary input. They’re the defining mechanism of a “Mechanical” keyboard.
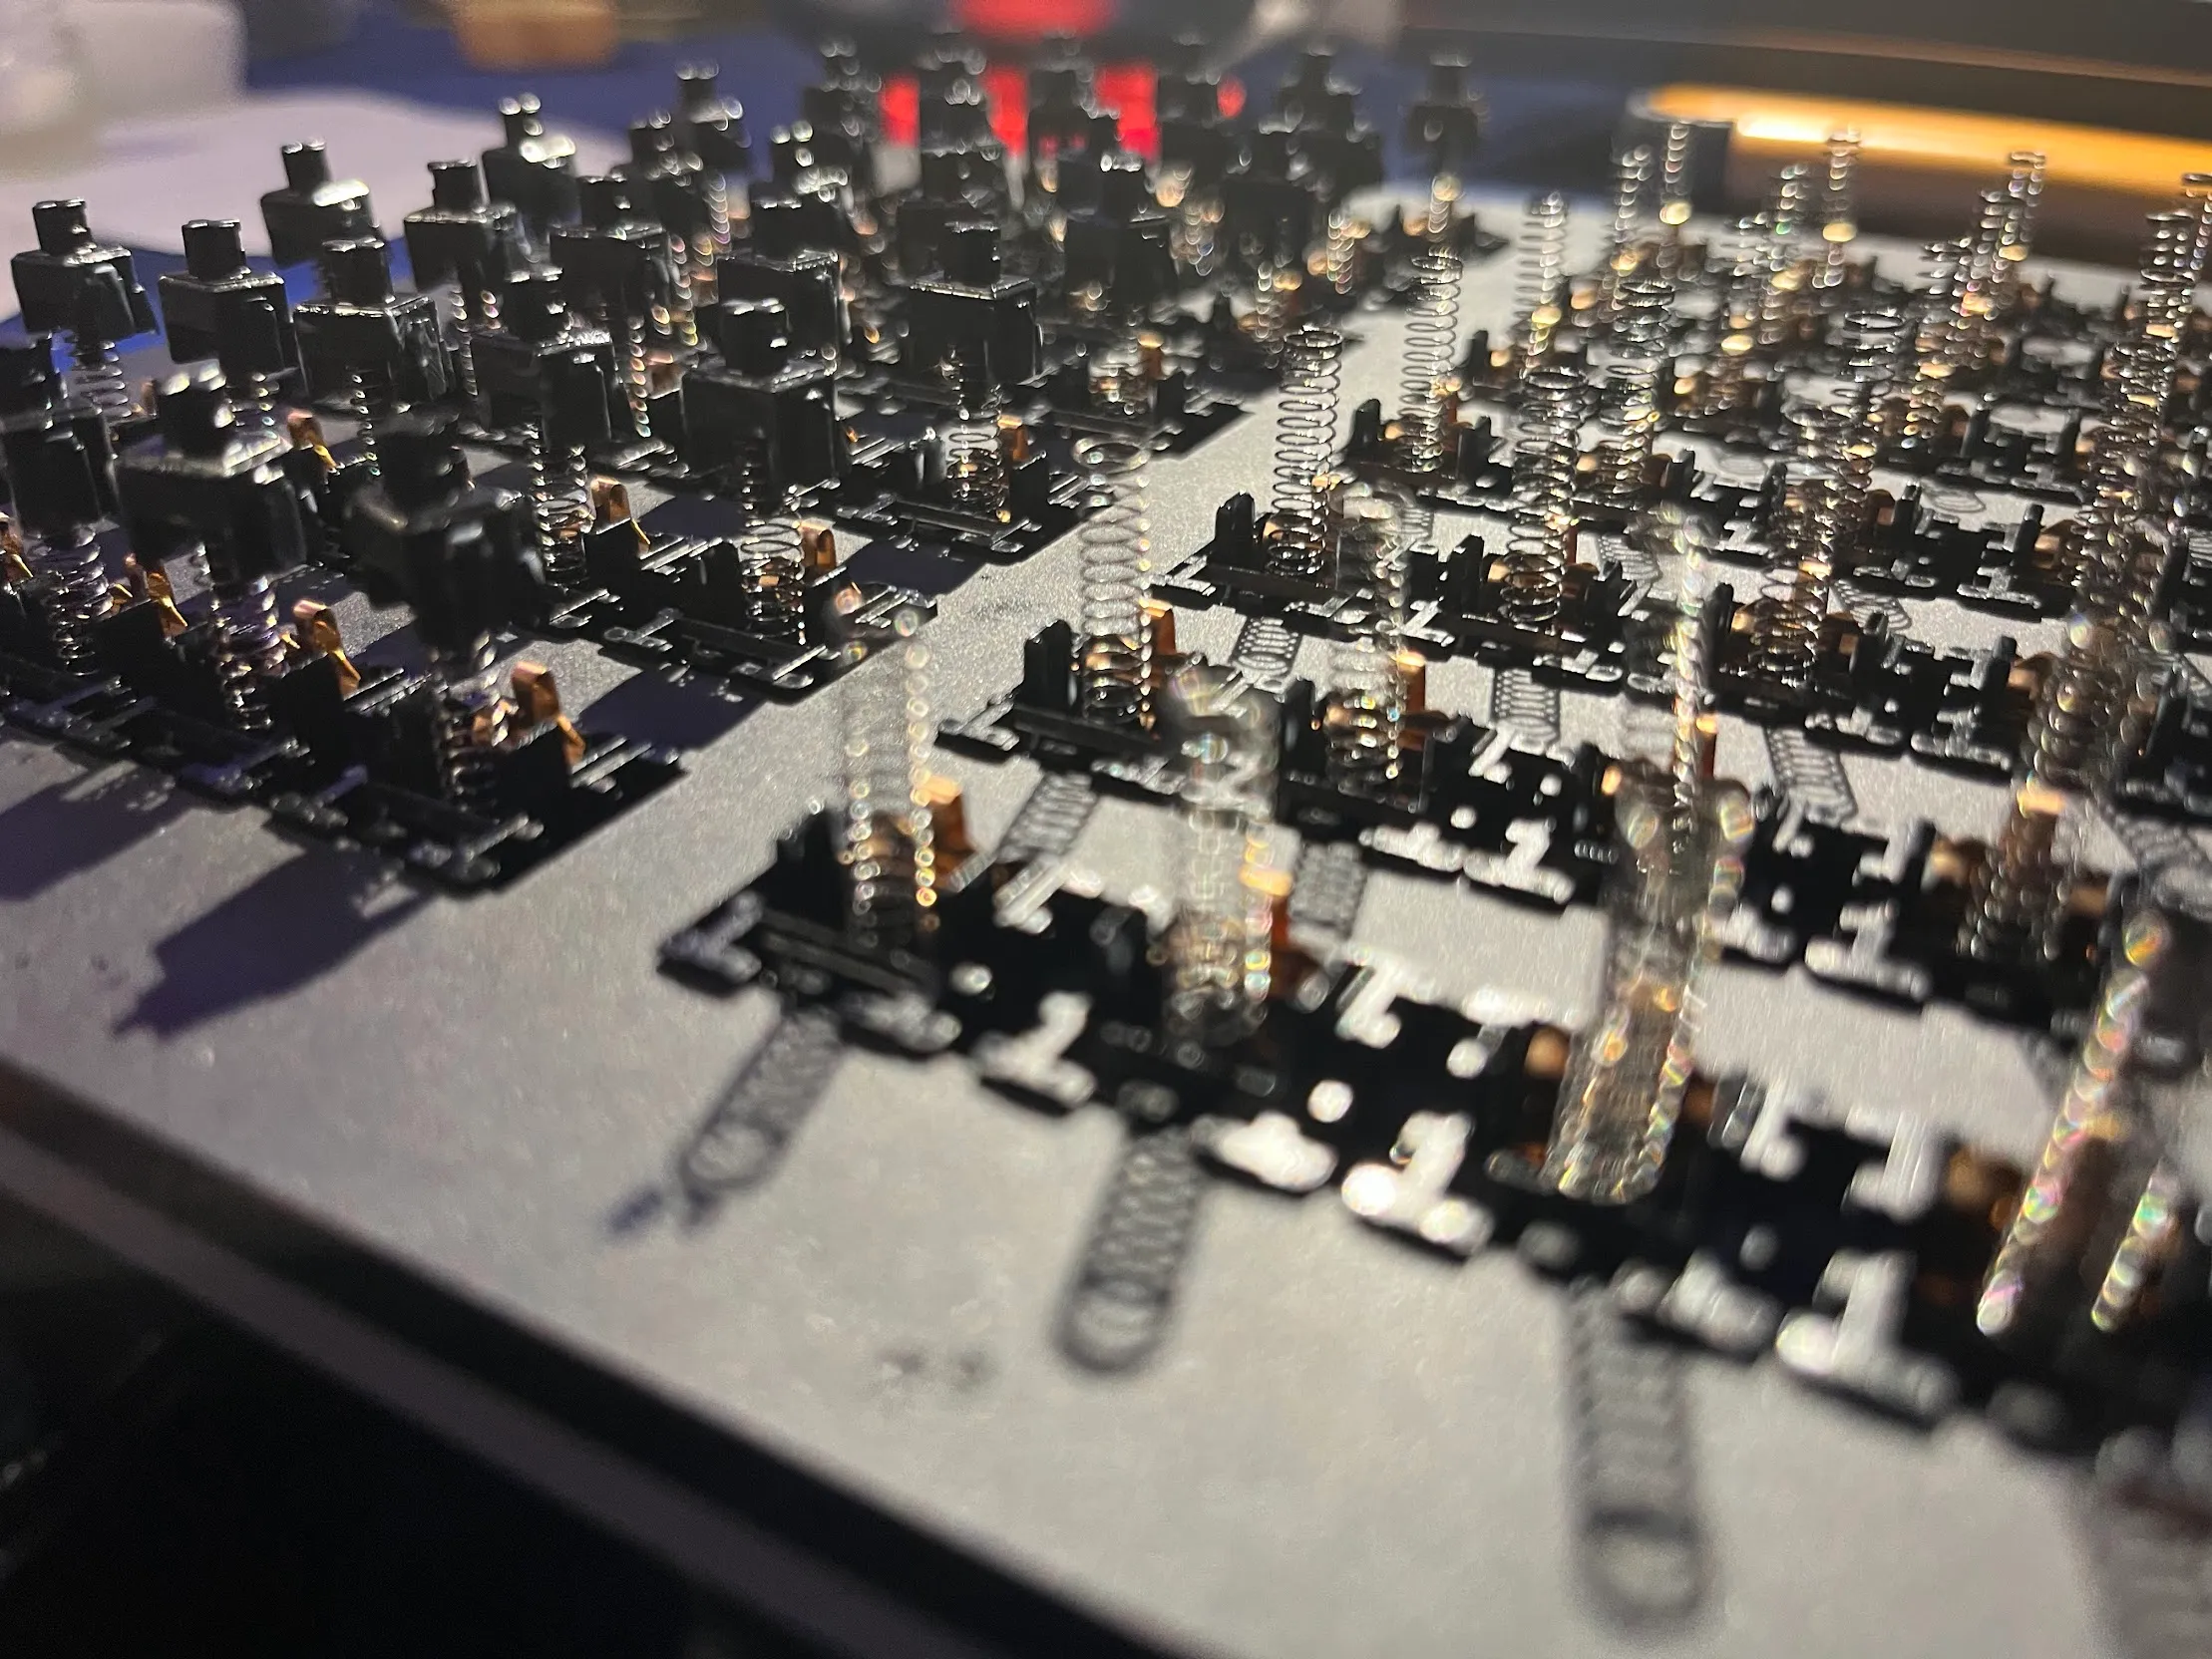 Partially-lubricated switches in a lubing station. Springs have just been re-added
Wait when you say lubing…
That means taking a paint brush and manually painting a thin layer of lubricant on the individual moving pieces of every individual switch. Most of my keyboard have upwards of 80 switches, and it’s smart to do a few extras just in case. So yeah.
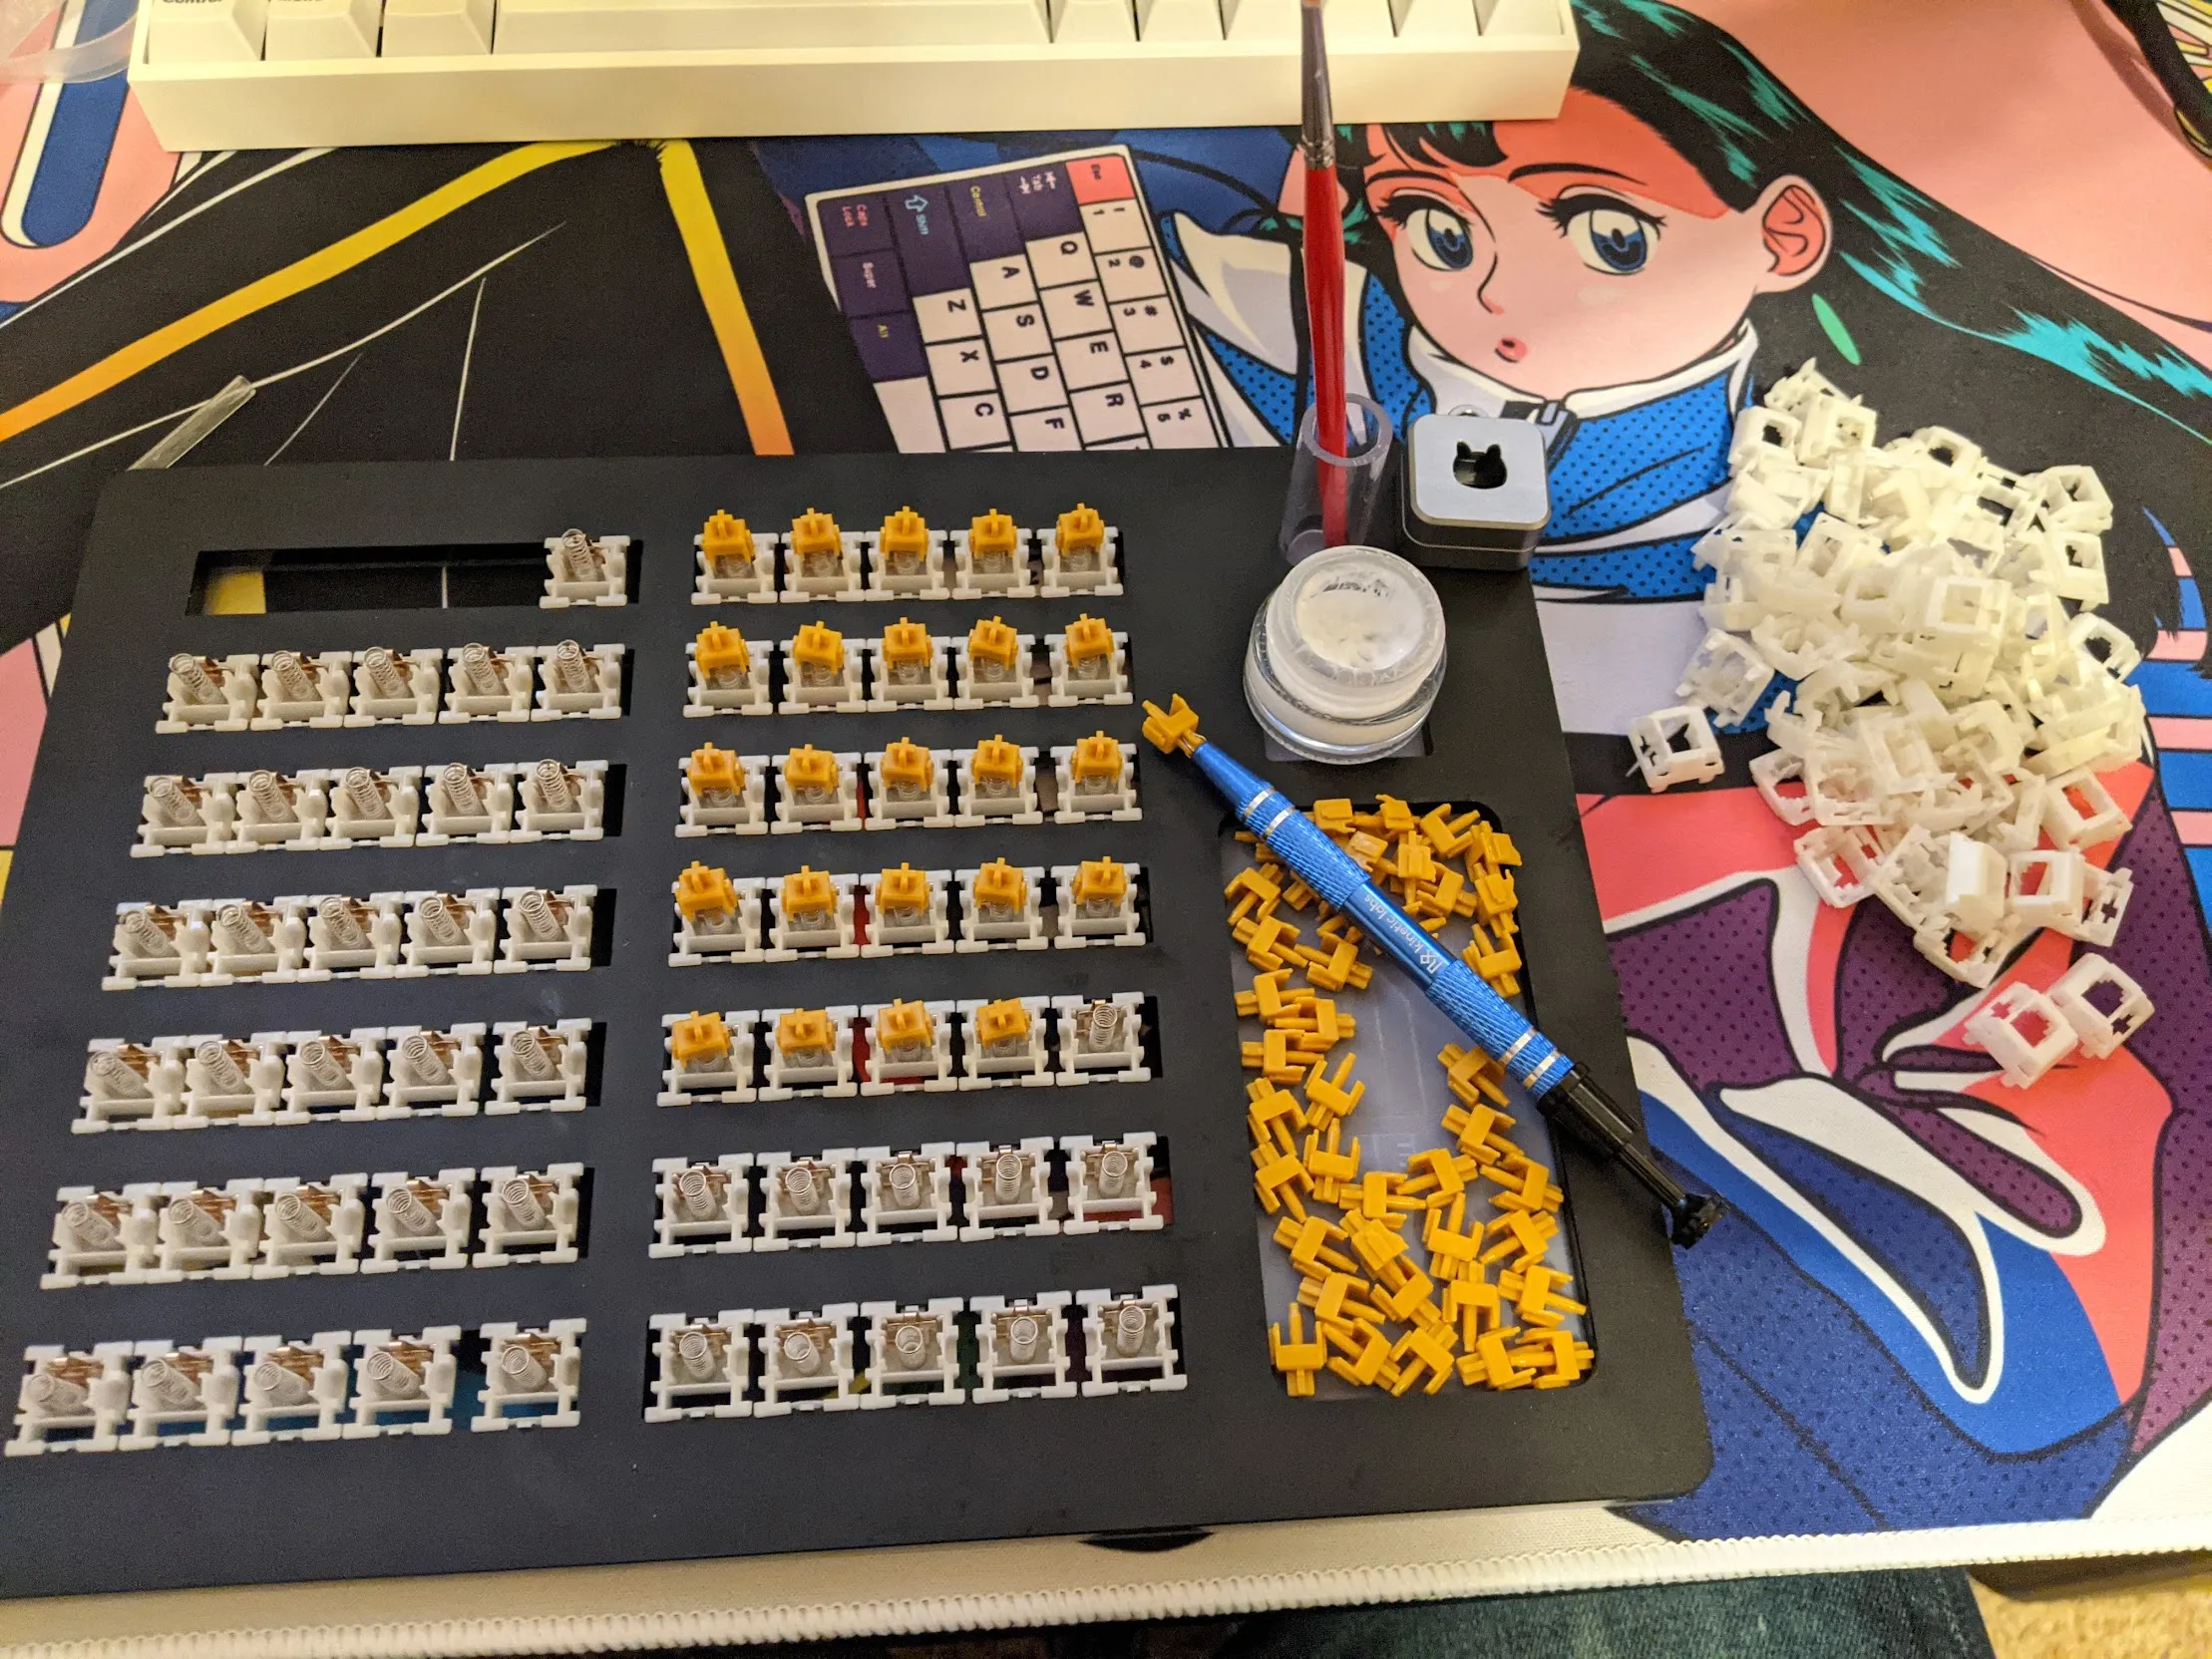 Full view of my switch lubing station. Jeweler’s claw tool on the right for holding switch stems. Lube at the top right with paintbrush
But why
Honestly it’s kind of zen. But mostly it’s because they sound and feel much better when lubed. It’s like someone pointing out an editing error in your favorite song, and then you can never un-hear it again. Or a more pernicious *You are now breathing manually* joke haha.
I’m very aware of resistance and scratching when I press a dry key. And the sound of each keypress is inconsistent from one to the next. Simply undesireable!
Stabilisers
We also have to lubricate stabilisers. There aren’t as many, but they’re much more annoying to deal with and sound absolutely awful if you don’t get them just right.

Stabilisers are little bracket things underneath long keys like the Enter or Spacebar key. They help turn a single press on a long piece of plastic into a single digital input. Underneath these keys is the exact same-sized keyboard switch as each individual letter key.
Swapping Keycaps
Easy to do, and important for cleaning if nothing else, this just involves pulling off your keycaps and swapping them out.
Depending on the keycap set you buy it may be a little tricky matching to the shape of your keyboard, but usually this isn’t an issue.
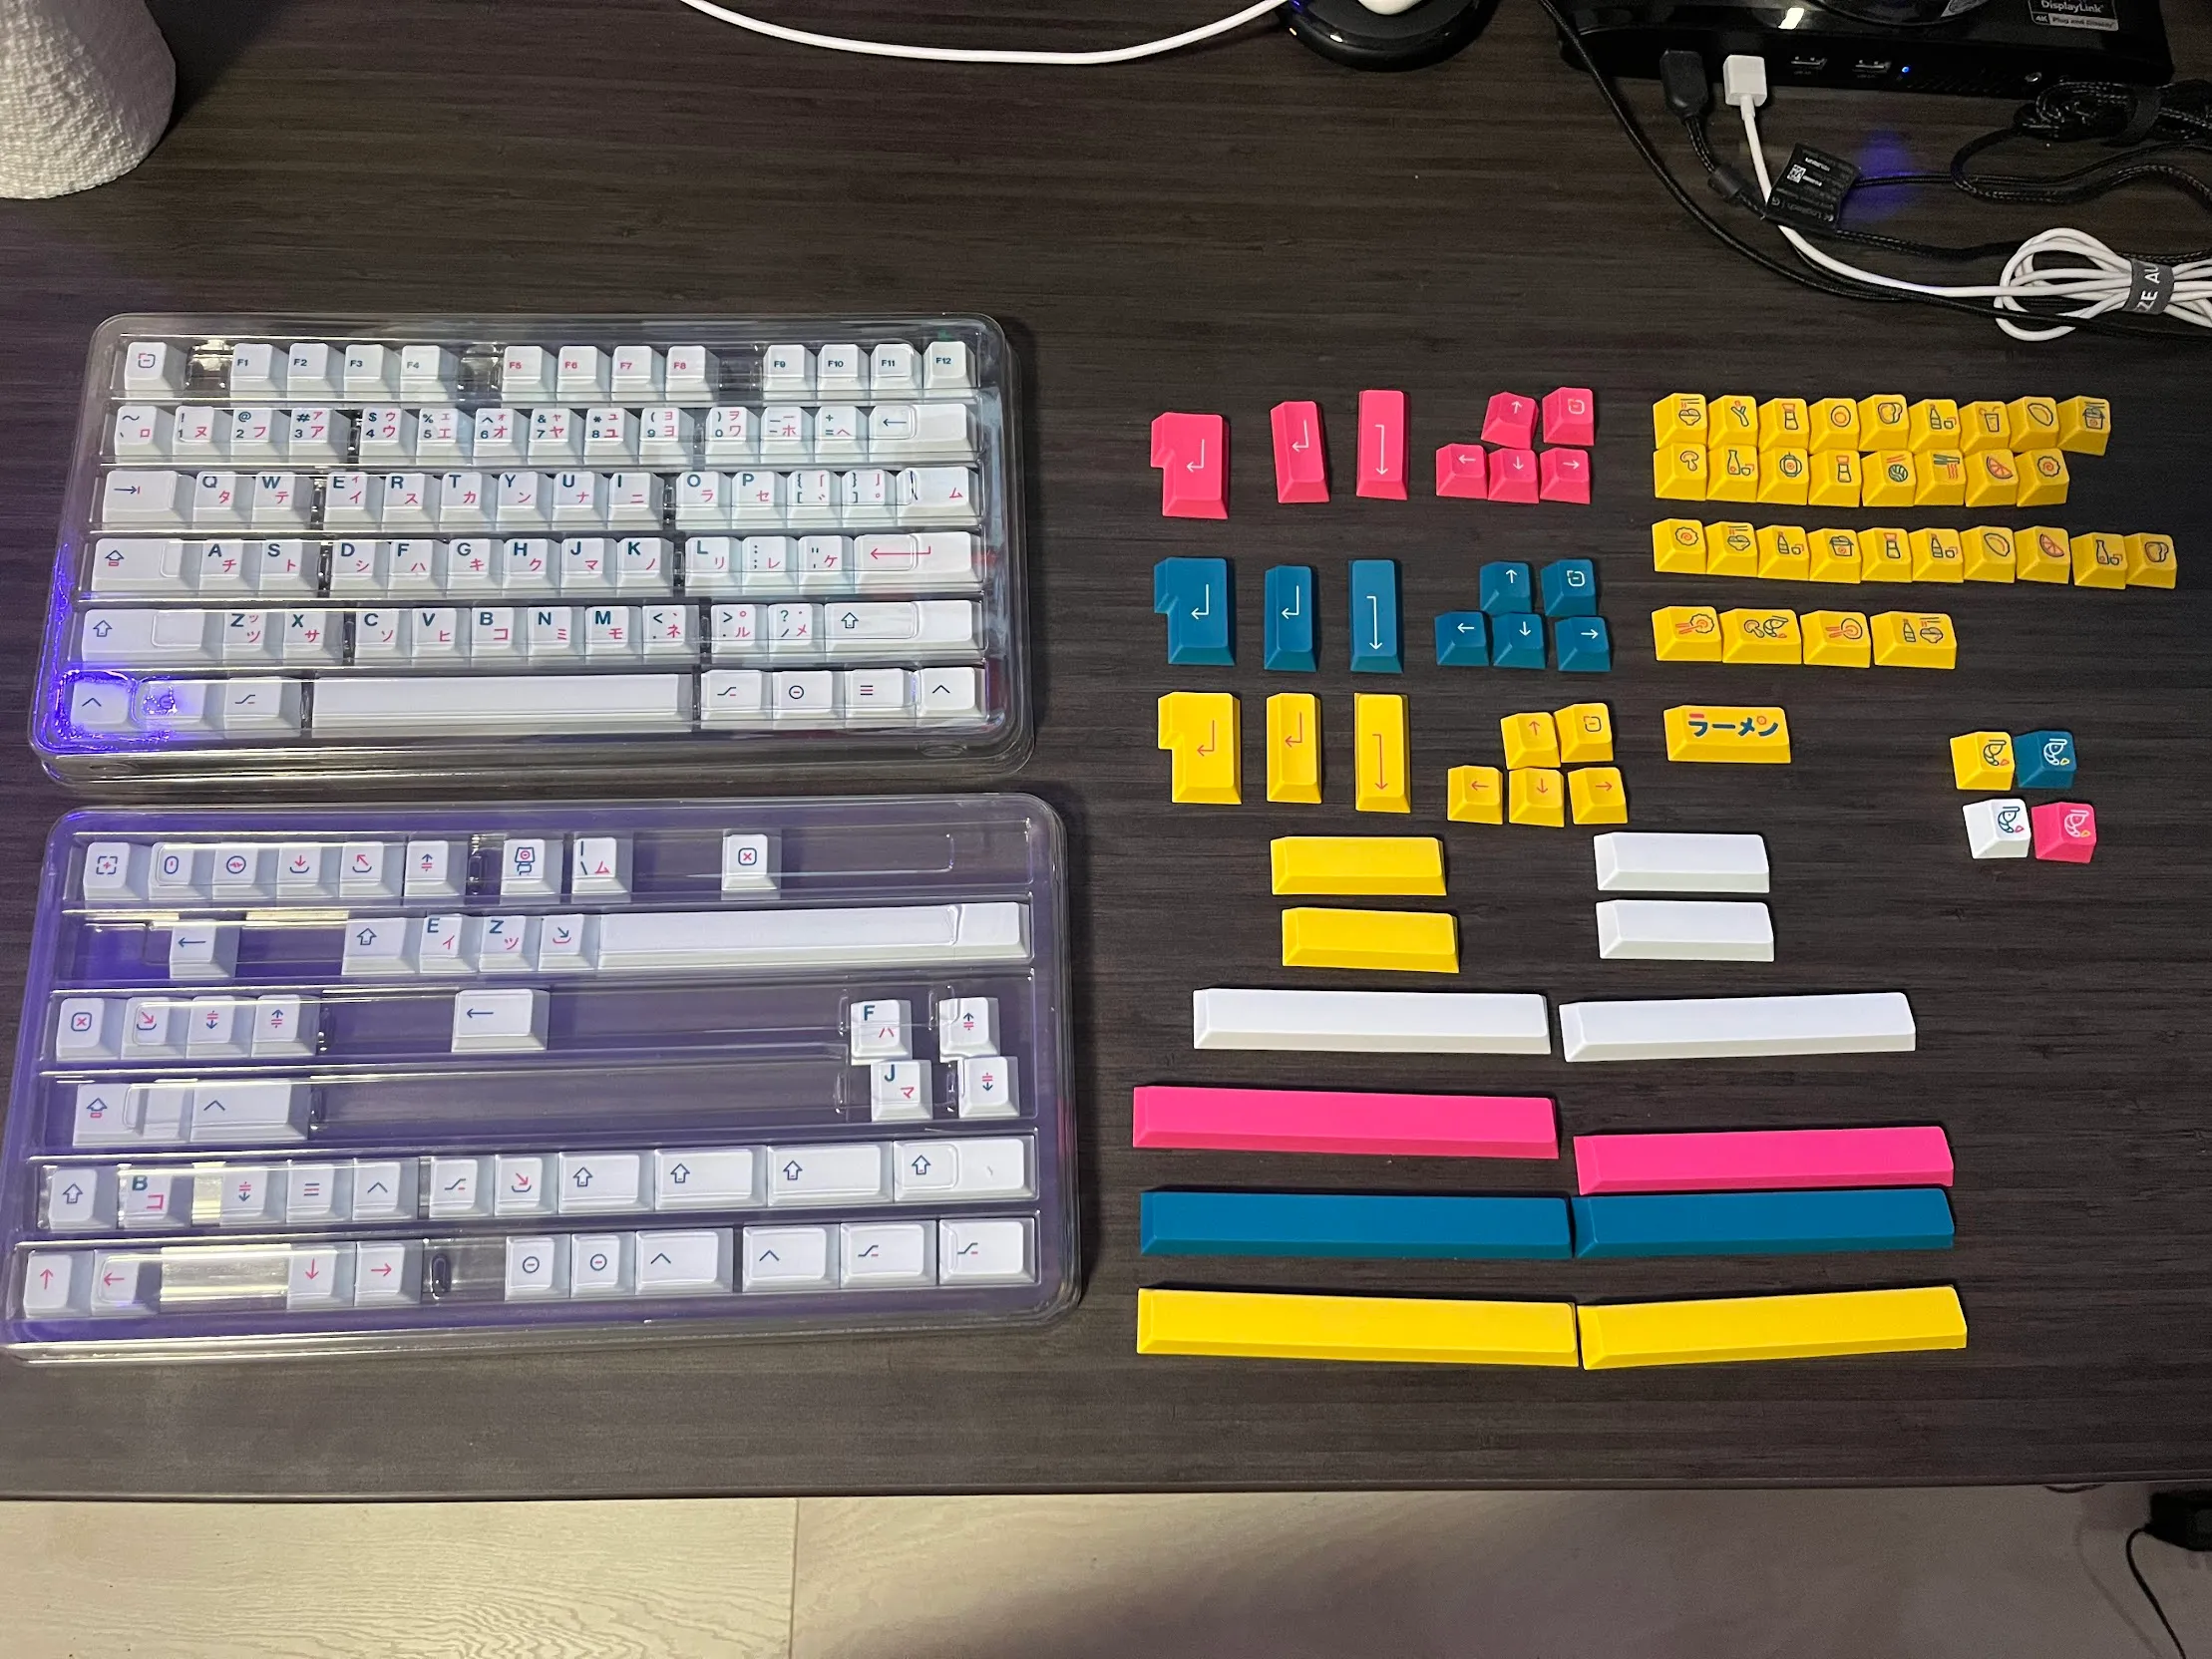 My Ramenstop keycaps
Soldering
Nowadays many keyboard kits you can get online will have hotswap PCBs, allowing you to plug and play keyboard switches without needing to solder.
I always told myself that inevitably I’d mistakenly order a solder-only board and at that point I’d learn how to solder…and well, that happened!
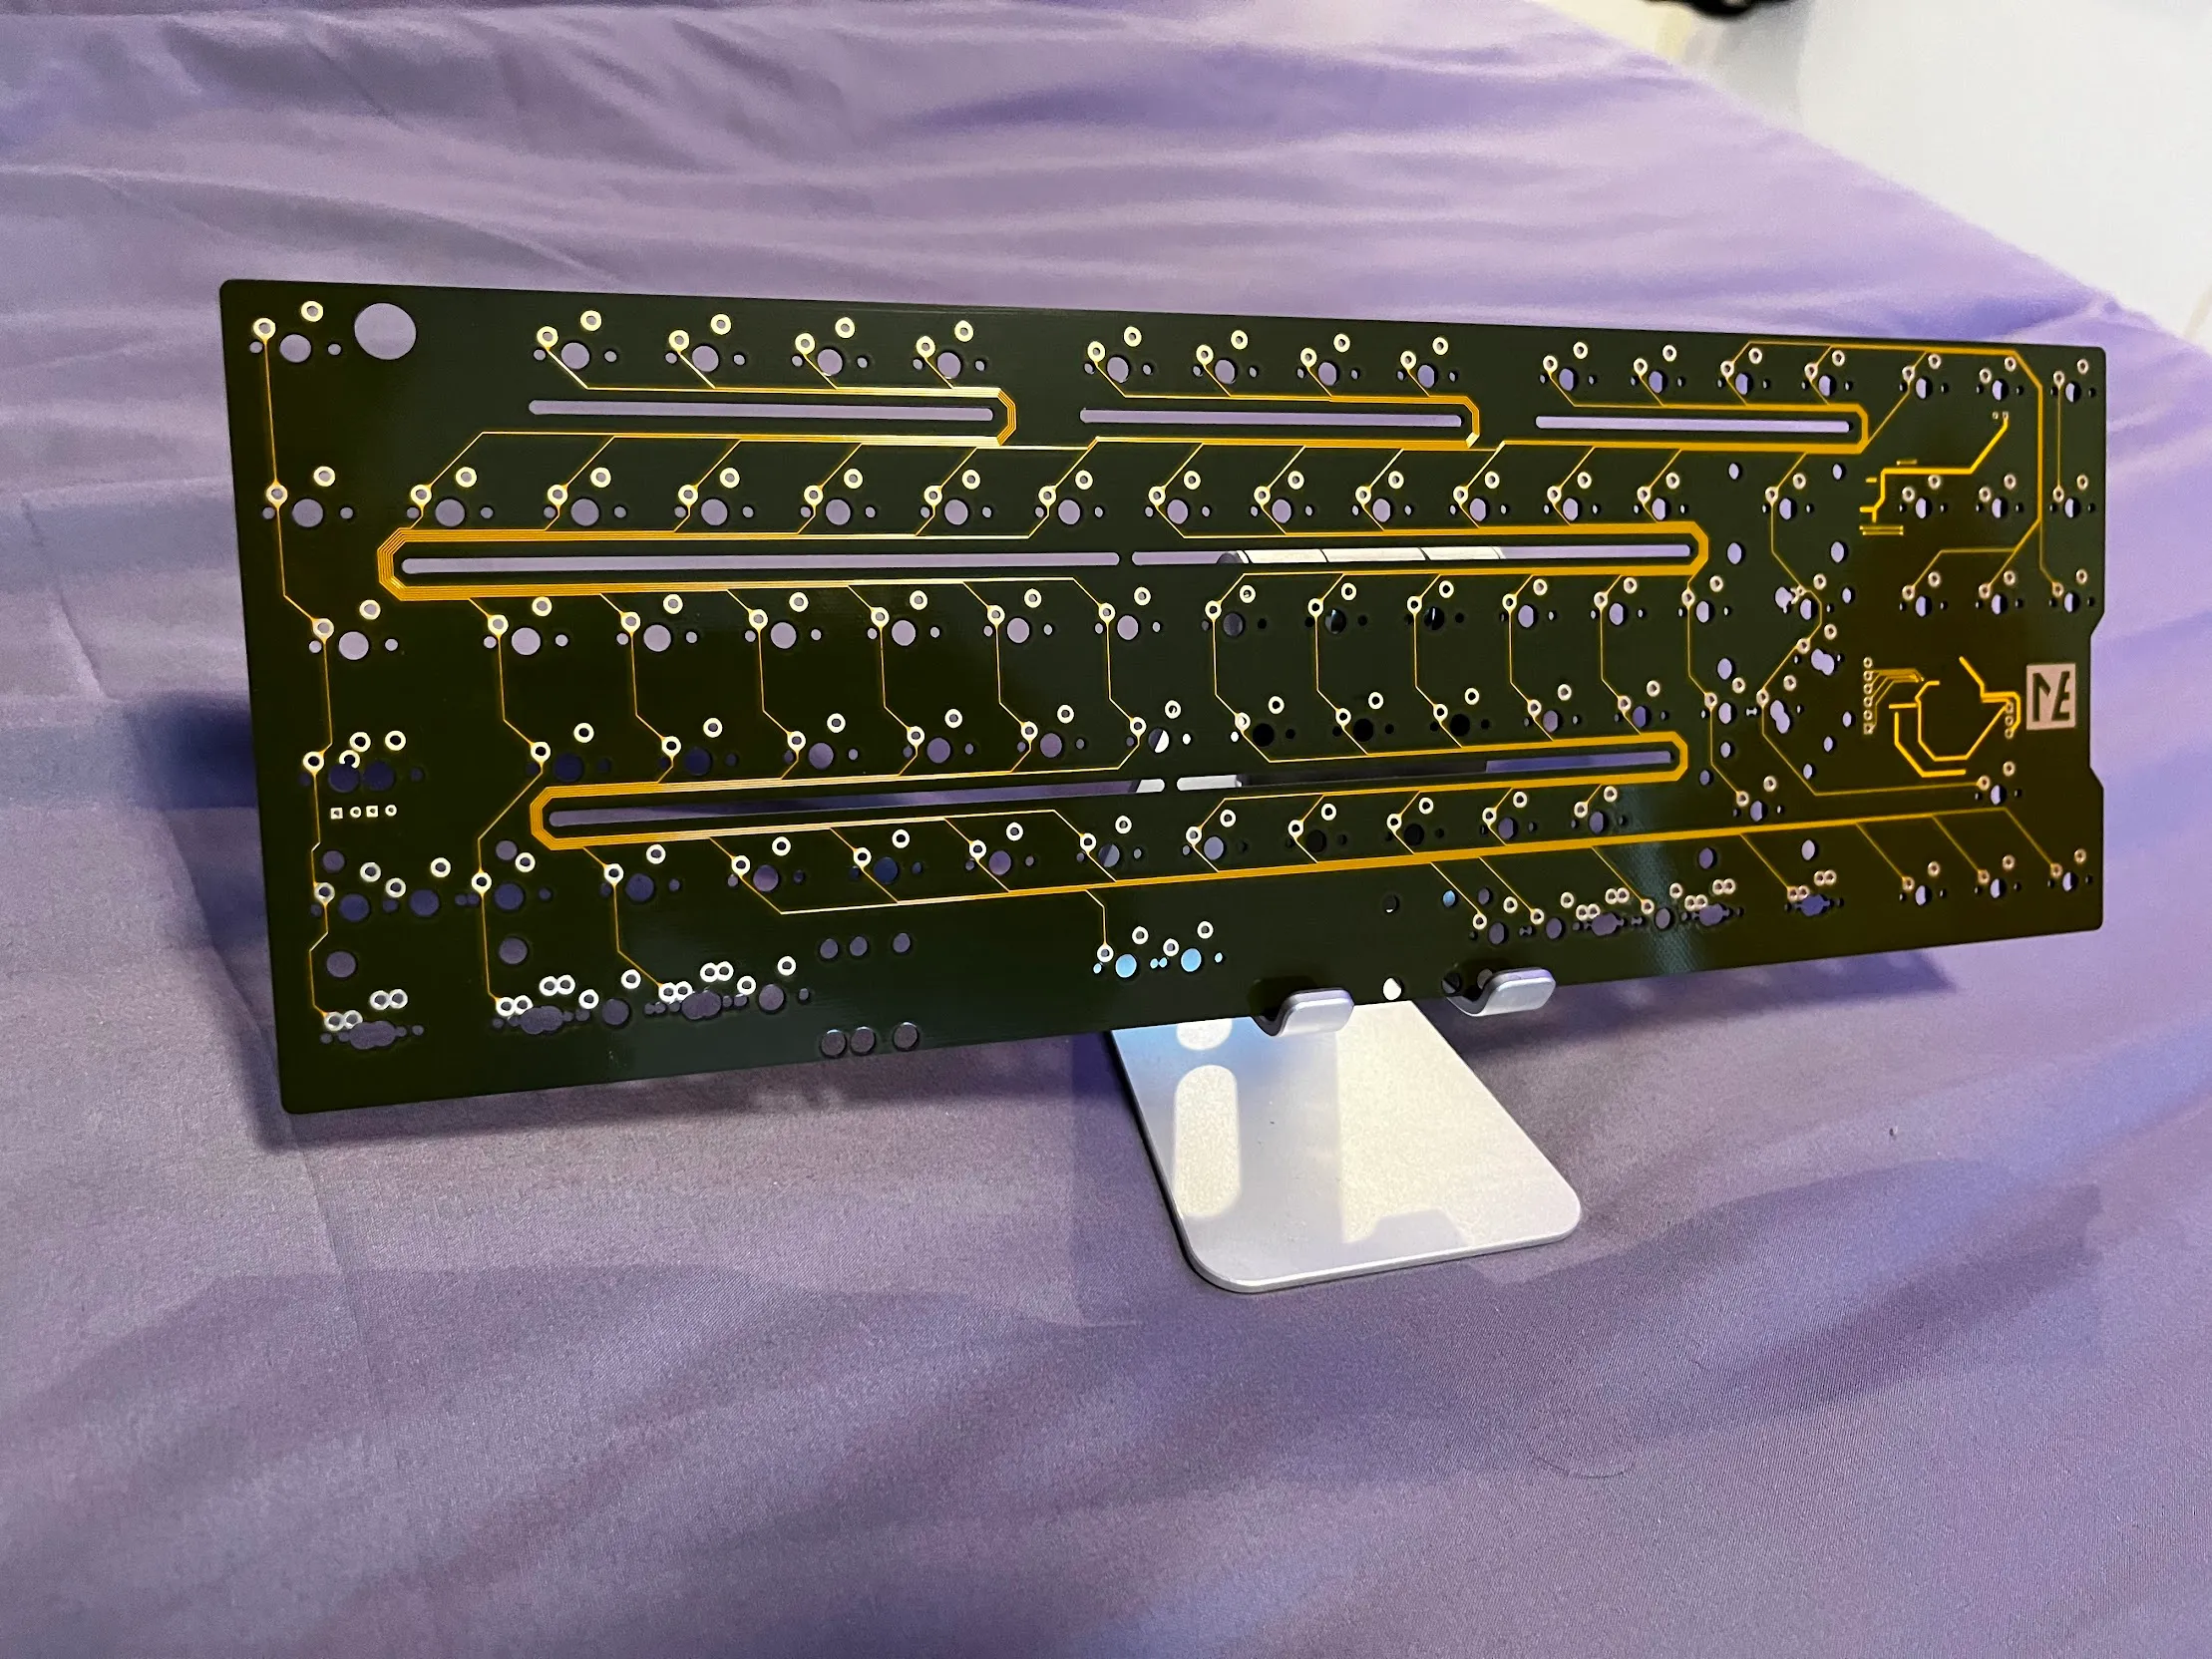
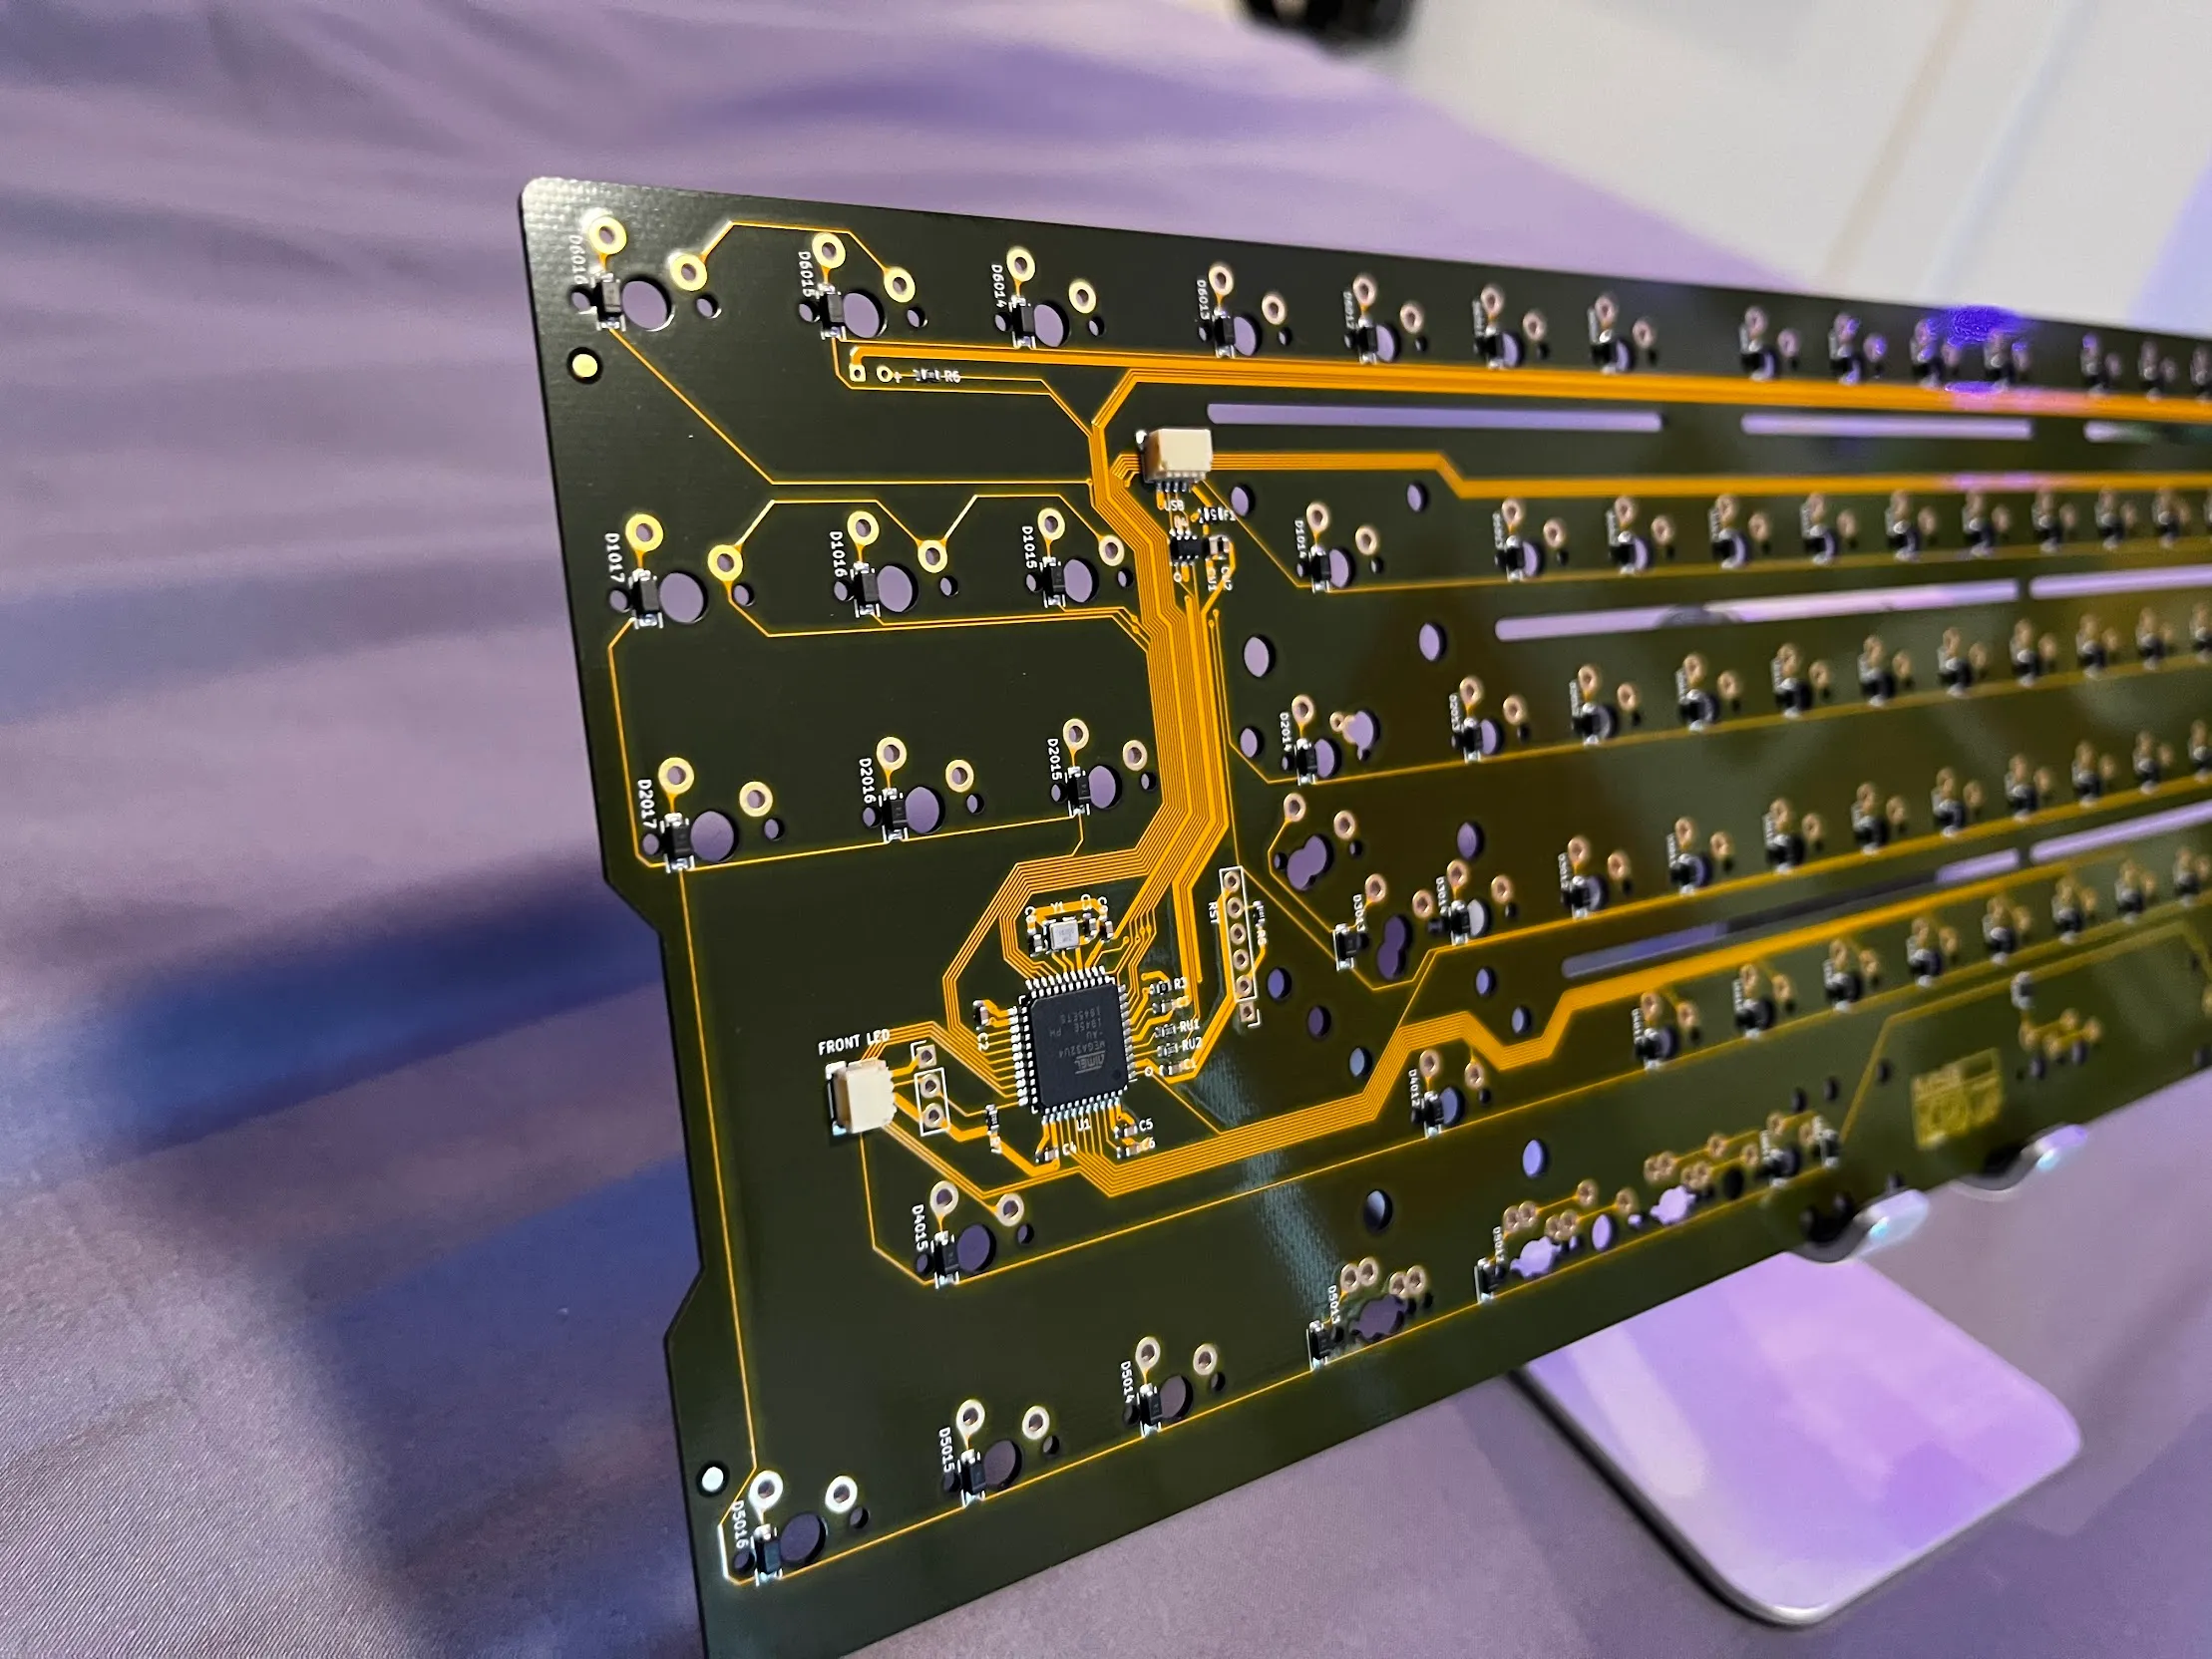 PCBs are so pretty like damn look at that
Typing Speed
Unsprisingly, many in the keyboard-building hobby enjoy “competitive” typing. Really just doing online typing tests to get as high of a WPM (words-per-minute) typing speed as possible.
I don’t do it very often anymore, but I really like typing fast :3
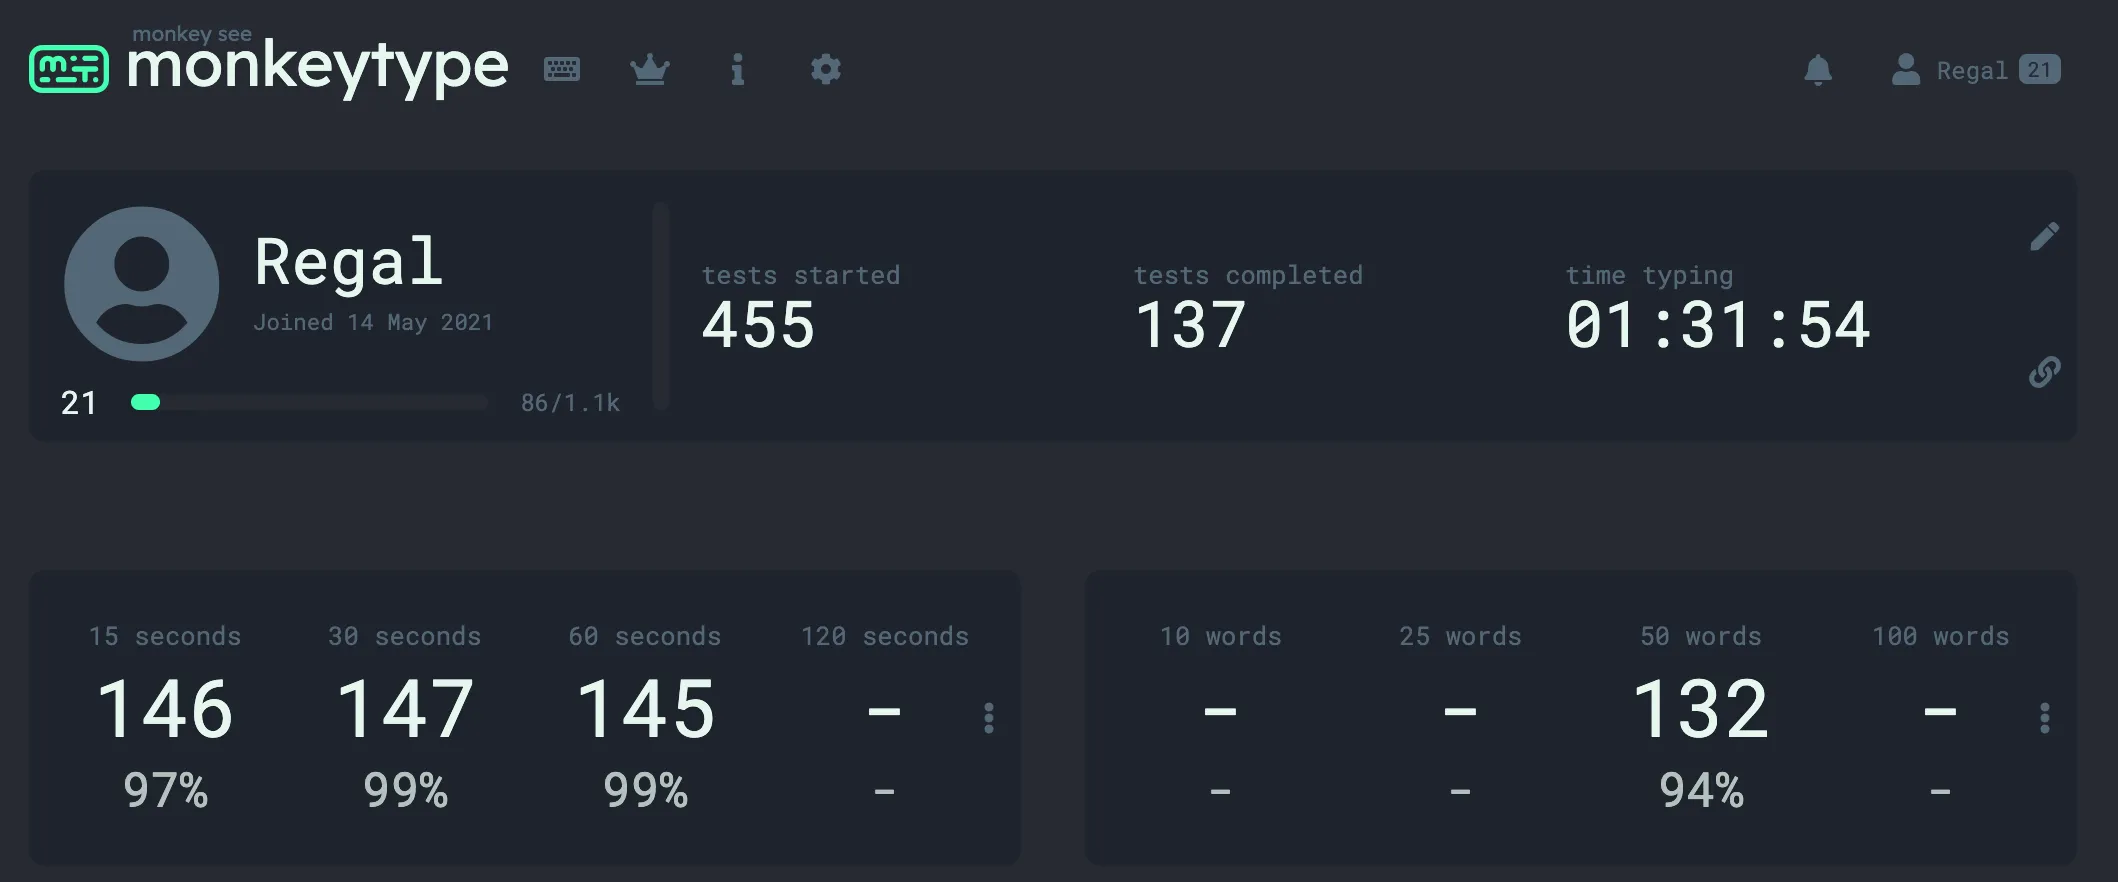 My stats from popular speed-typing test site, MonkeyType
I think my highest speed right now is 156WPM. If I made an effort I could definitely get it higher, but haven’t tried lately.
Current Favorite Boards
I don’t change these very often anymore, but these are 3 of my current boards I love using the most.
My photography skills really do not do them justice.
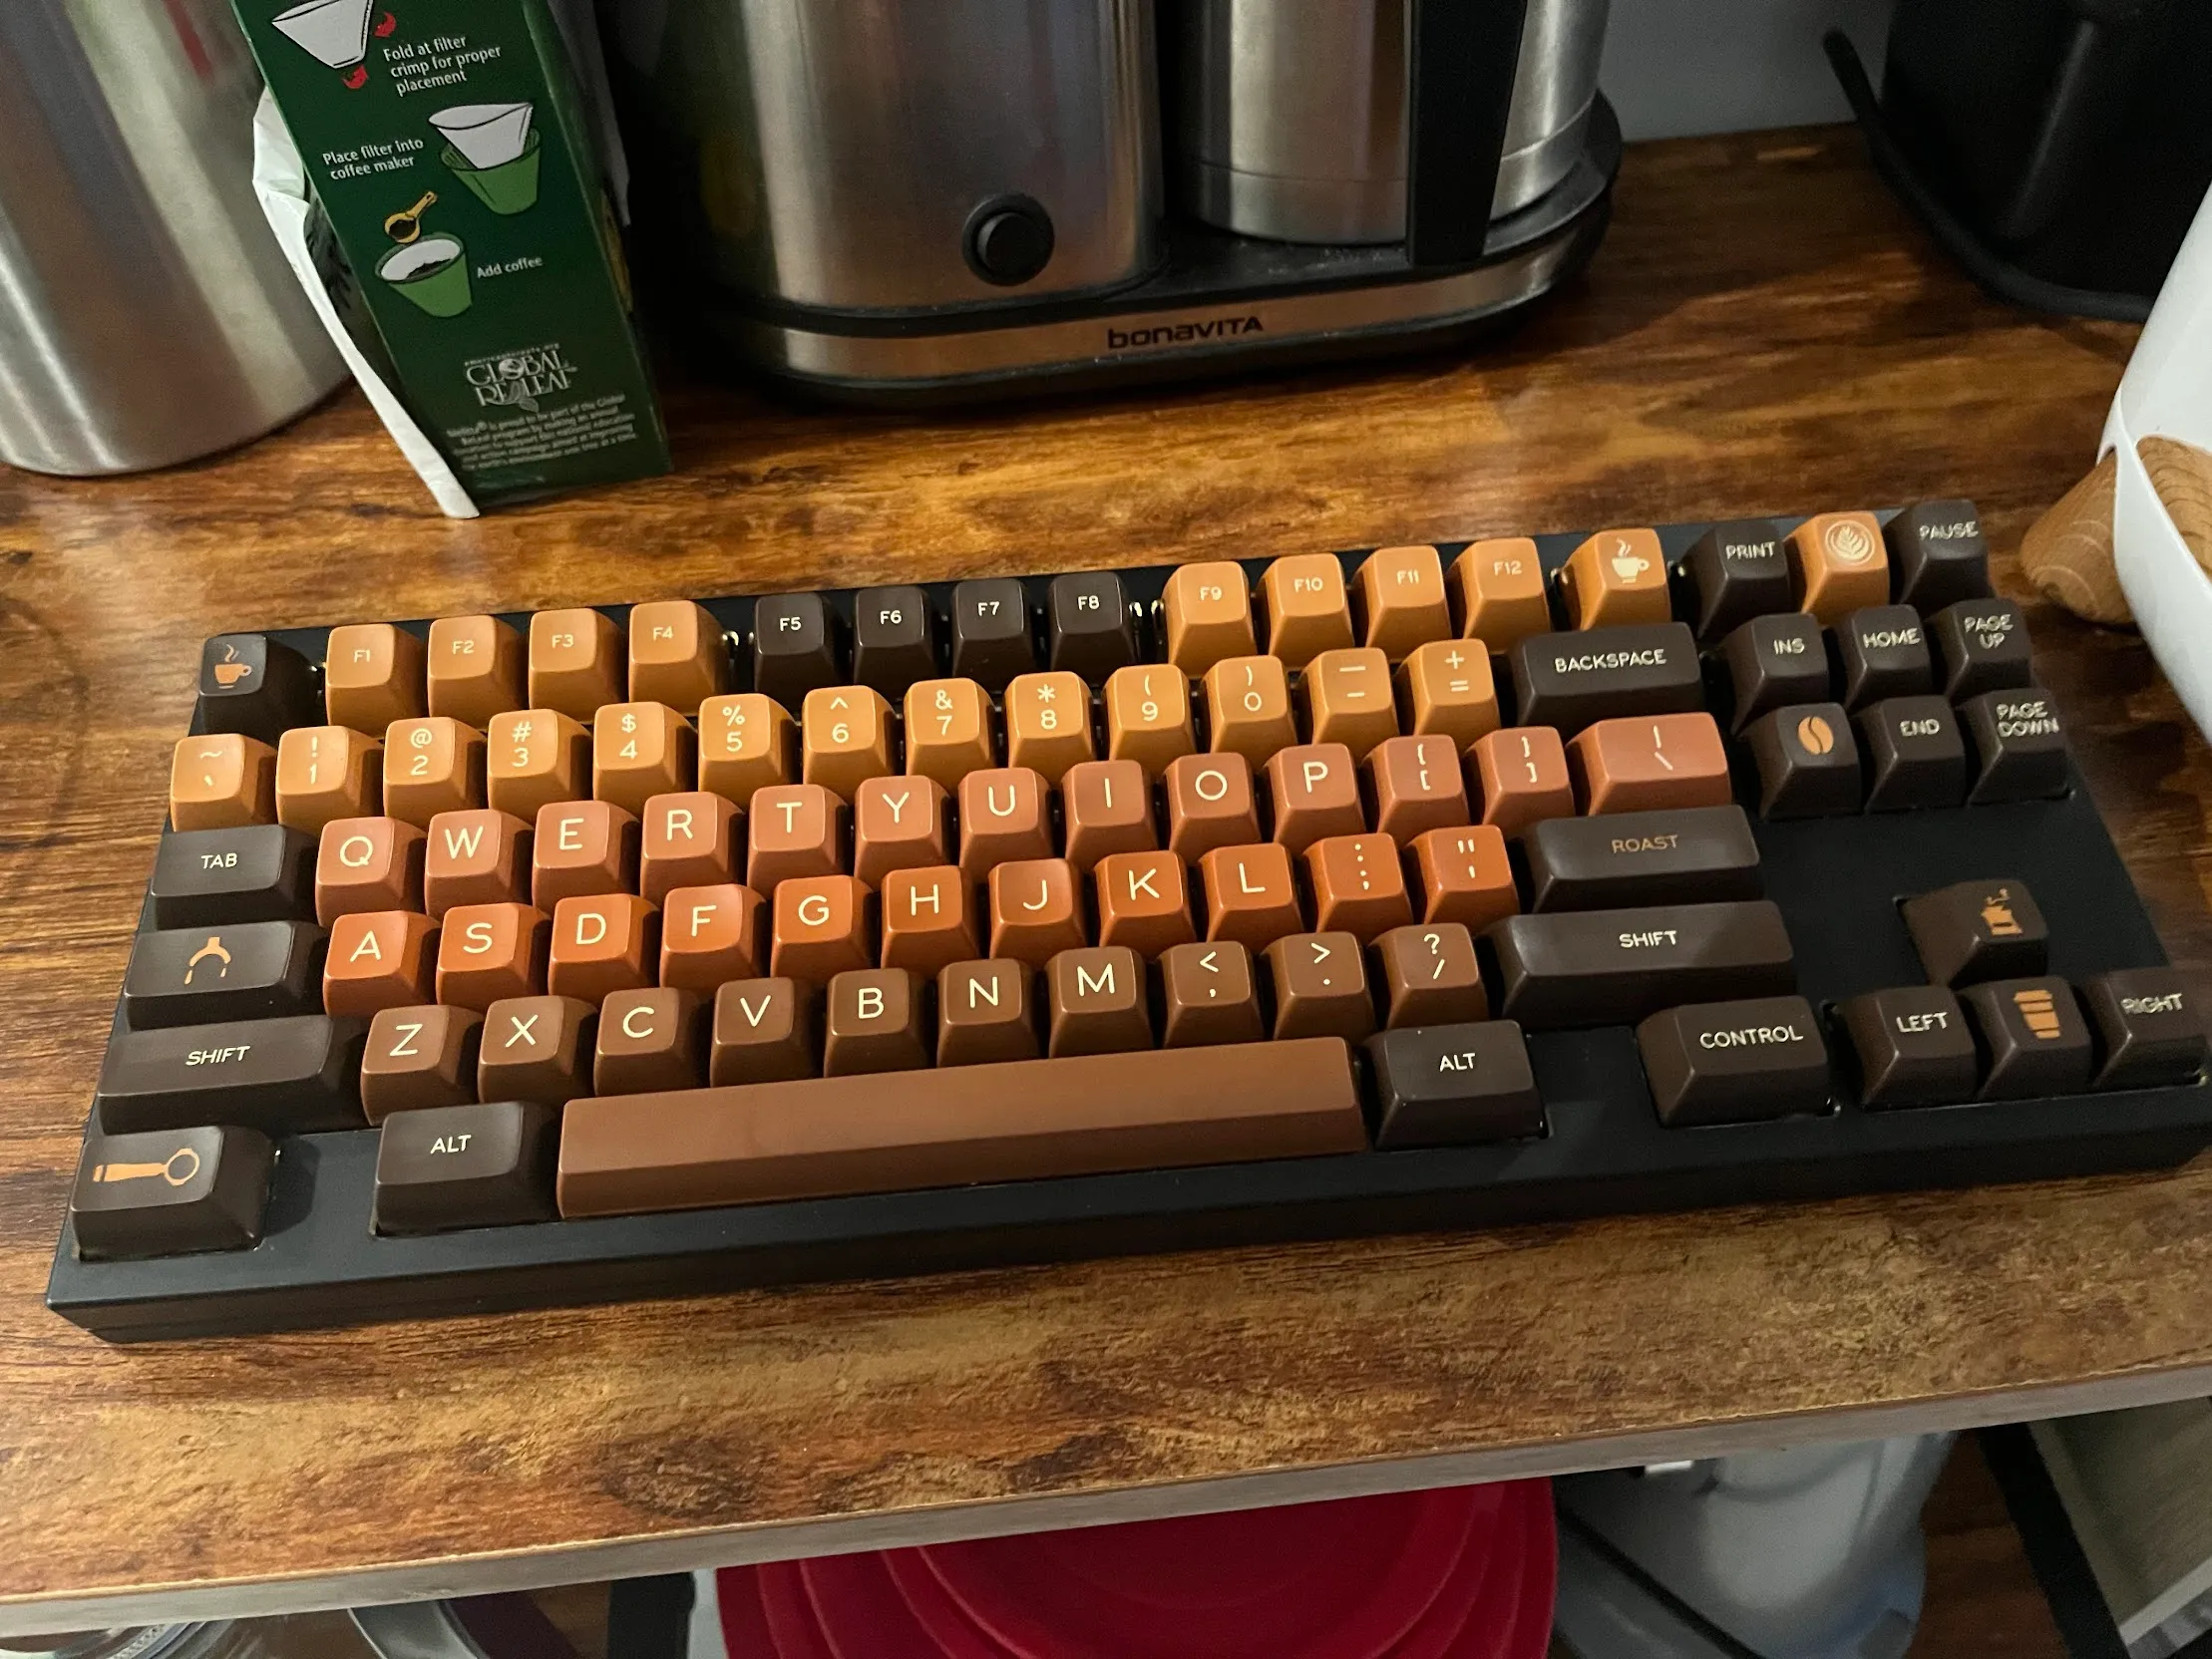 Owl Labs’ Mr. Suit 2 board with SA Espresso Keycaps
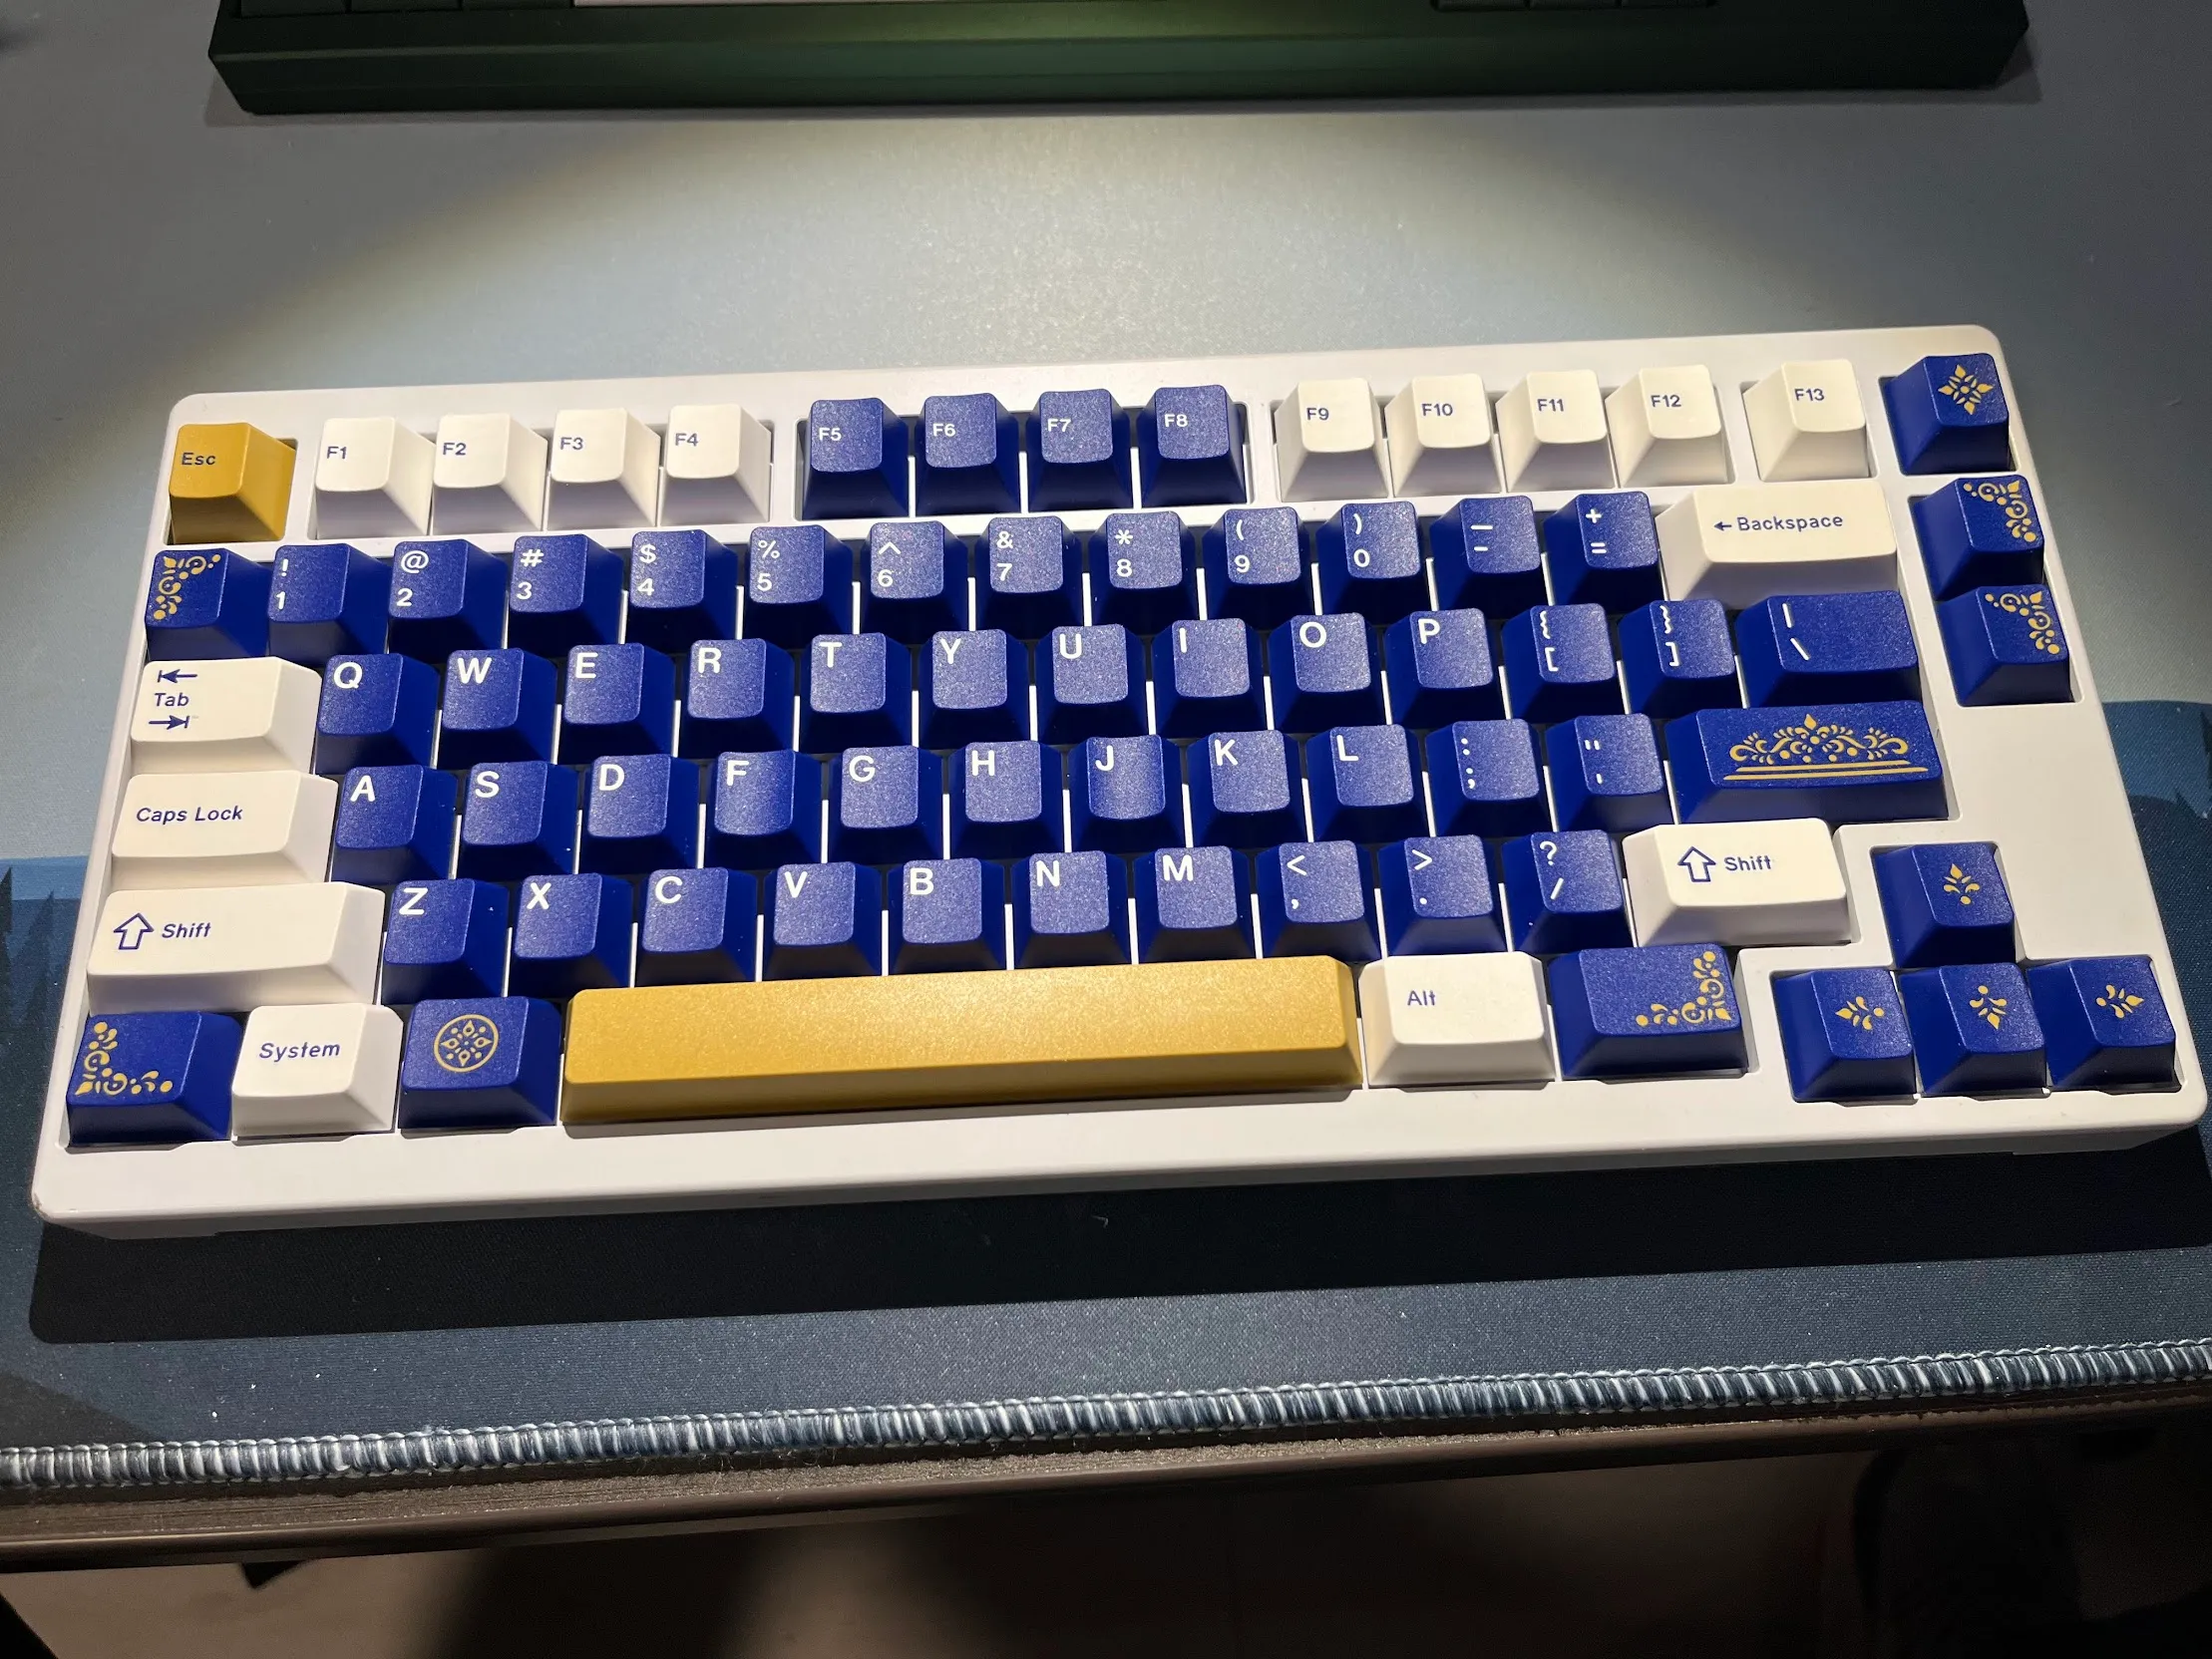 Idobao 75% board with GMK Lazuli Keycaps
 Rocket Keyboards’ Mercury 65 board with PBT Ramenstop Keycaps
Hi, I'm Regal!

I'm a communist cobra obsessed with coffee, weightlifting, and Chicago!  This is my personal site where I blog about coffee shops and other things.
Thanks for stopping by! Hit me up on the socials if you have any comments or want to say hi, or if you've
got any cool coffee shop suggestions here in Chicago